TABLE OF CONTENTS
In the realm of video editing, audio and text-to-speech features play a pivotal role in creating engaging and professional content. Whether you're producing a vlog, a tutorial, or a promotional video, having this features significantly enhance the viewer's experience. This article delves into the options of using the audio and text-to-speech sections of the video editor, providing step-by-step guidance to help you seamlessly integrate music and voiceover and AI generated speech into your projects.
Music and Voiceover
The Audio section on the editor allows adding a music and voiceover (VO )to your project.
Right next to the music library you will find my music tab where you can access all the tracks uploaded by you previosuly and add it to the project:

1. In the 'Audio' section switch to "Voiceover" tab
2. You will have several options for adding a voiceover: upload, record or add from the pre-uploaded VO files.
- To upload a file from your device/Dropbox/Google Drive select the corresponding option:

- To record your VO right on the platform, select the record option and proceed with recording yourself. Make sure to set up browser permissions for using your device microphone:

Once you upload or record a Voiceover the file will appear on your voice-overs section and you may add the file to your current to next project timeline via the "+" button:
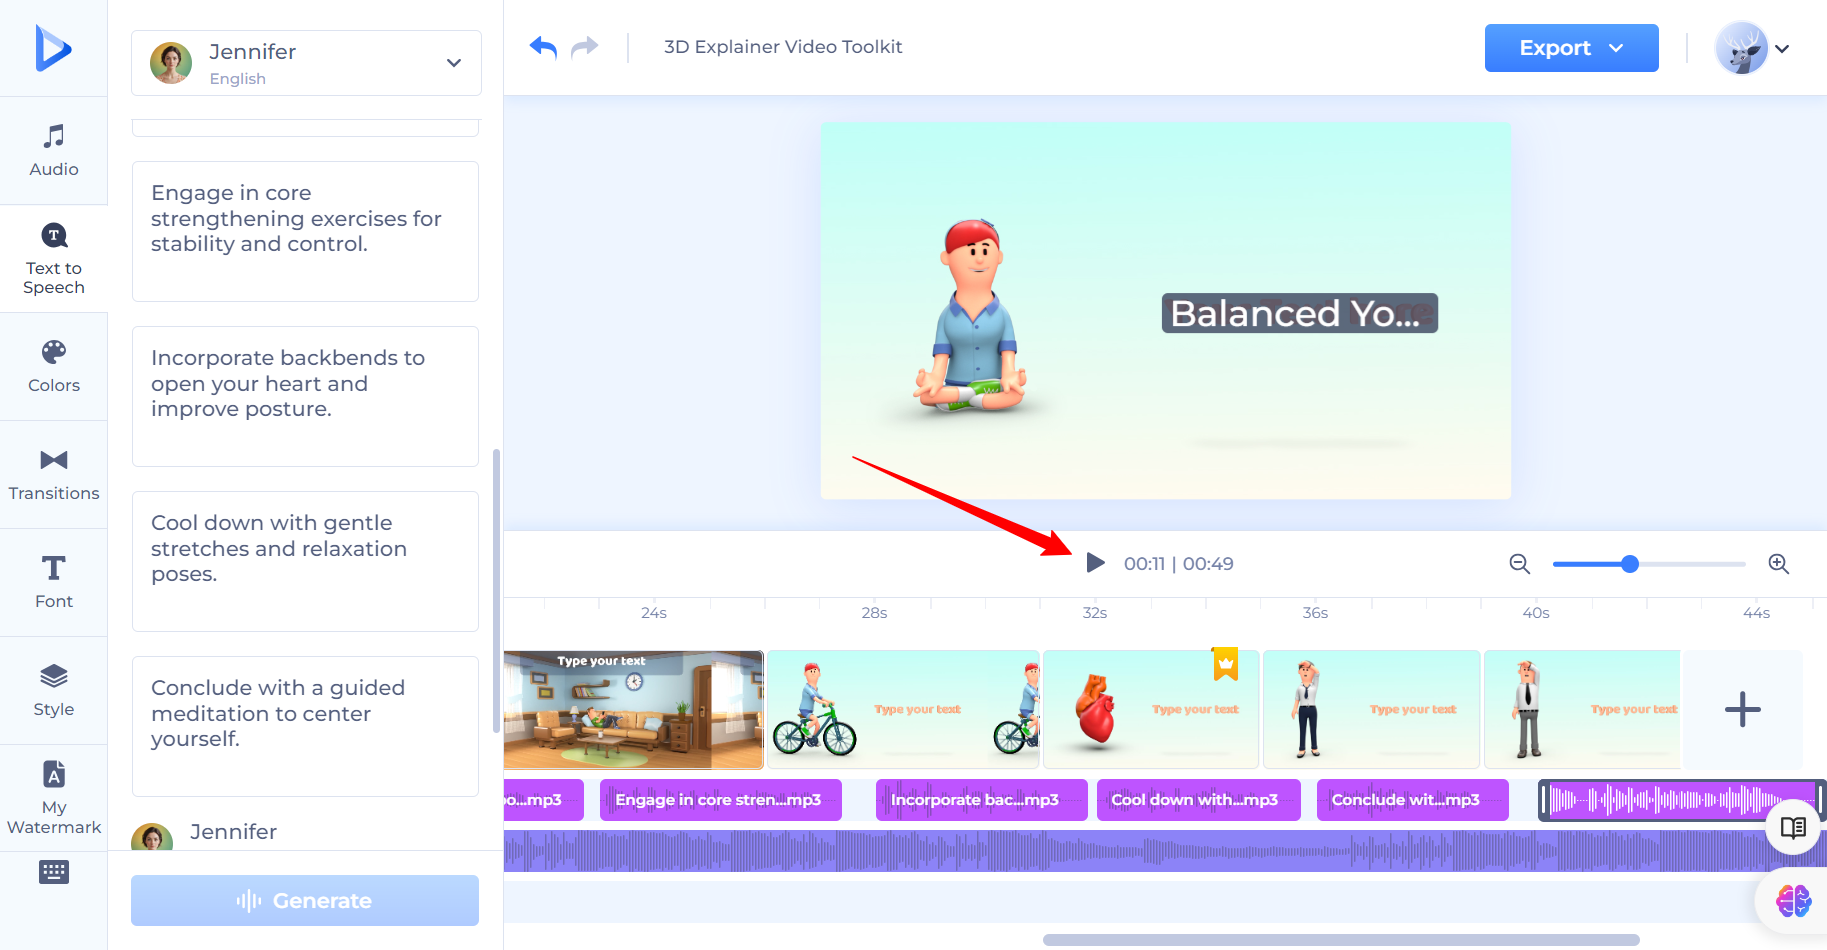
TEXT TO SPEECH
The next section and option for adding an AI generated Voiceover to your project is the text to speech option.

You also have the option to change the speaker for a specific TTS. To do this, simply select the text and click the speaker avatar to select a new one for that specific part:

To add a new TTS click the "+" button:

To delete a TTS select the text and click the "delete" icon:

Was this article helpful?
That’s Great!
Thank you for your feedback
Sorry! We couldn't be helpful
Thank you for your feedback
Feedback sent
We appreciate your effort and will try to fix the article