TABLE OF CONTENTS
- Step 1: Access the Tool
- Step 2: Describe Your Video
- Step 3: Choose a Style
- Step 4: Configure Settings
- Step 5: Generate Your Video
Step 1: Access the Tool
From the Home page, go to the Tools section and click AI Music Video. This opens the Long AI Video tool, with Music Video pre-selected among the available themes — Whiteboard Animation, Anime, Product Promo, Cinema, Cartoon, and App Promo.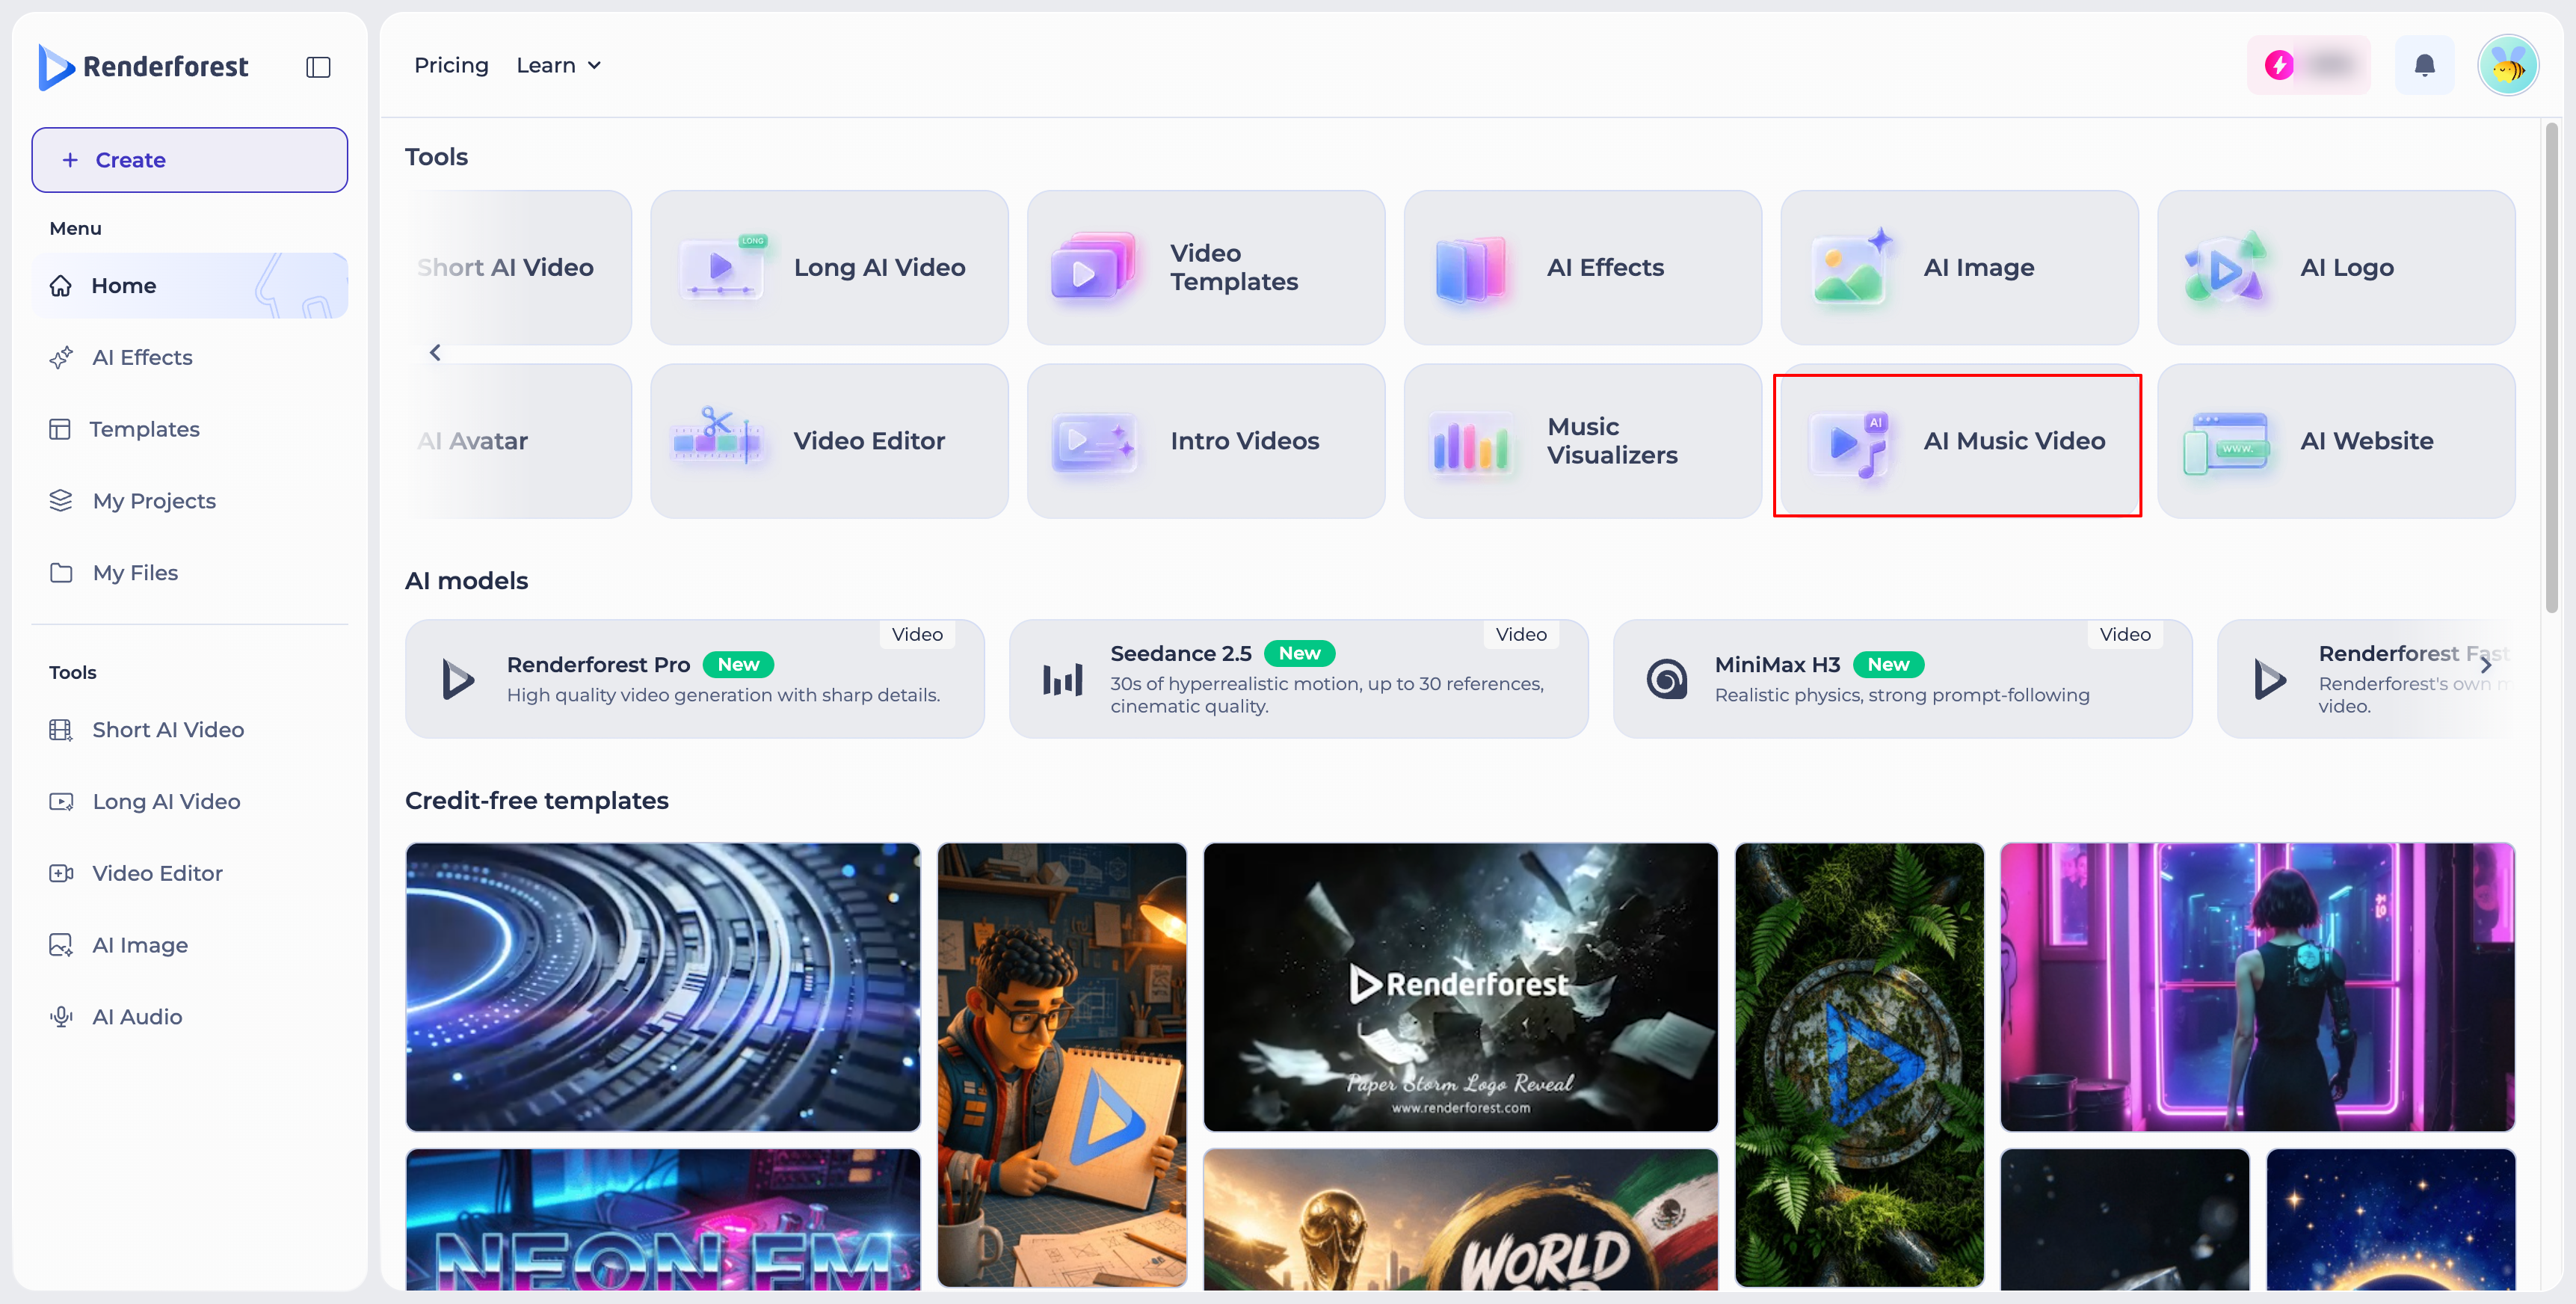
Step 2: Describe Your Video
Enter a prompt describing your music video's concept in the text field provided. You can also: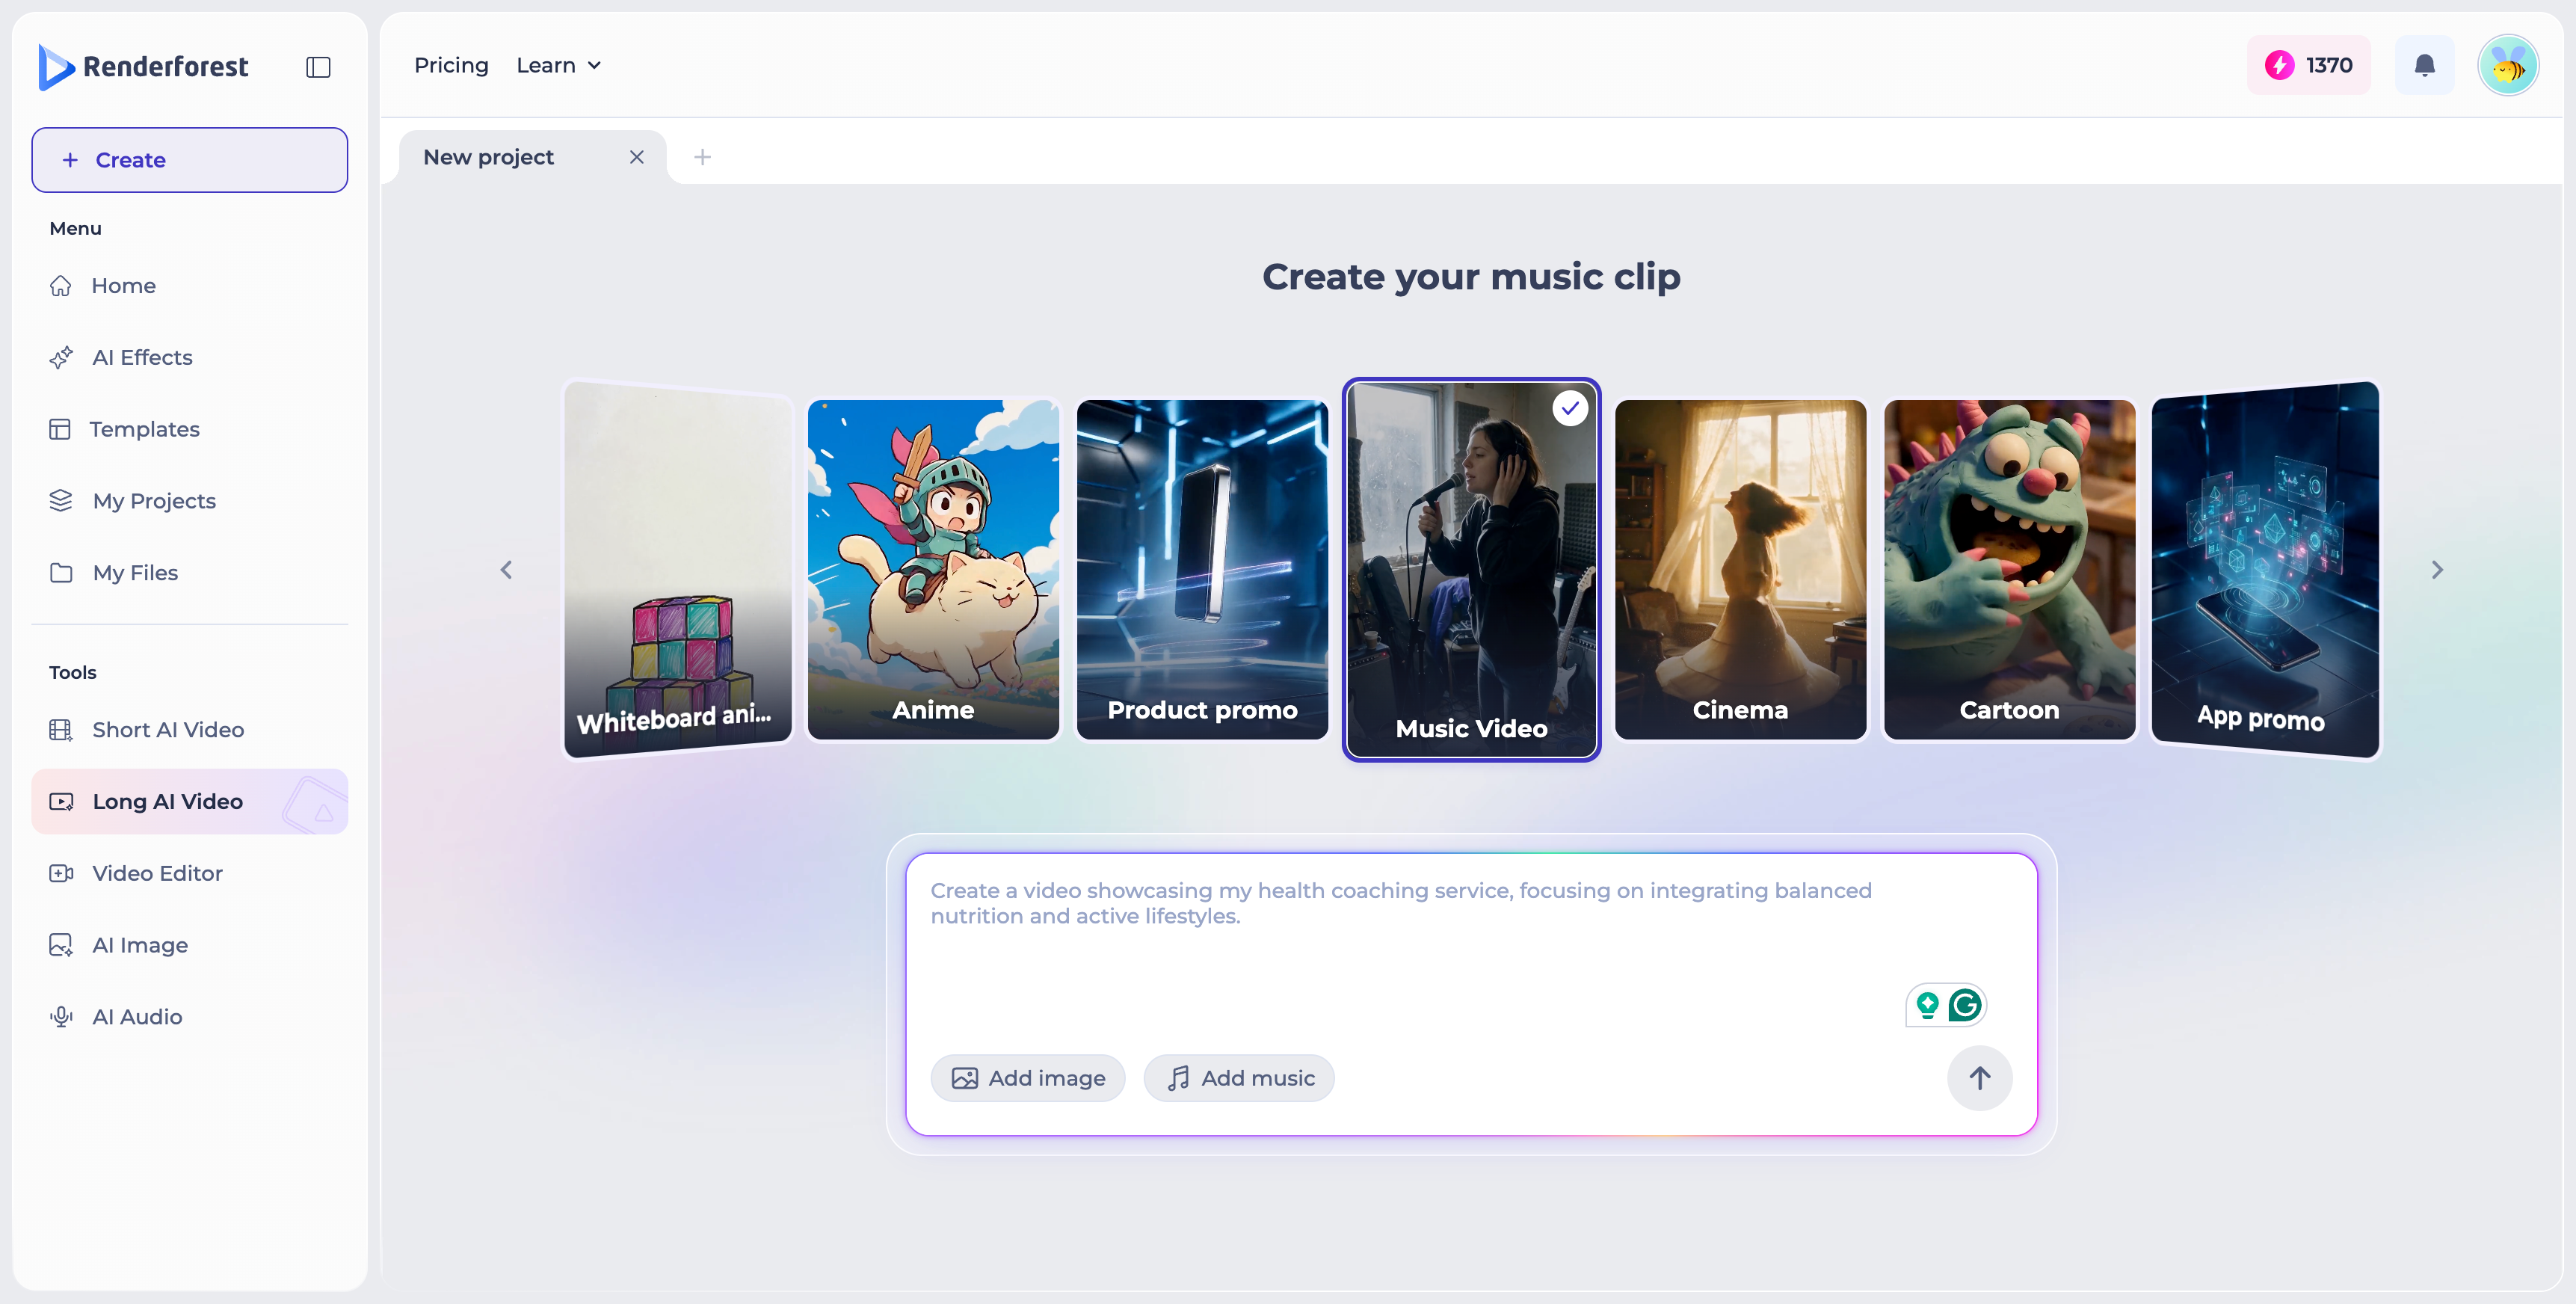
- Add image — upload an image, choose one from My Files, or generate an AI Character to feature in your video.
- Add music — attach the song your video will be built around.
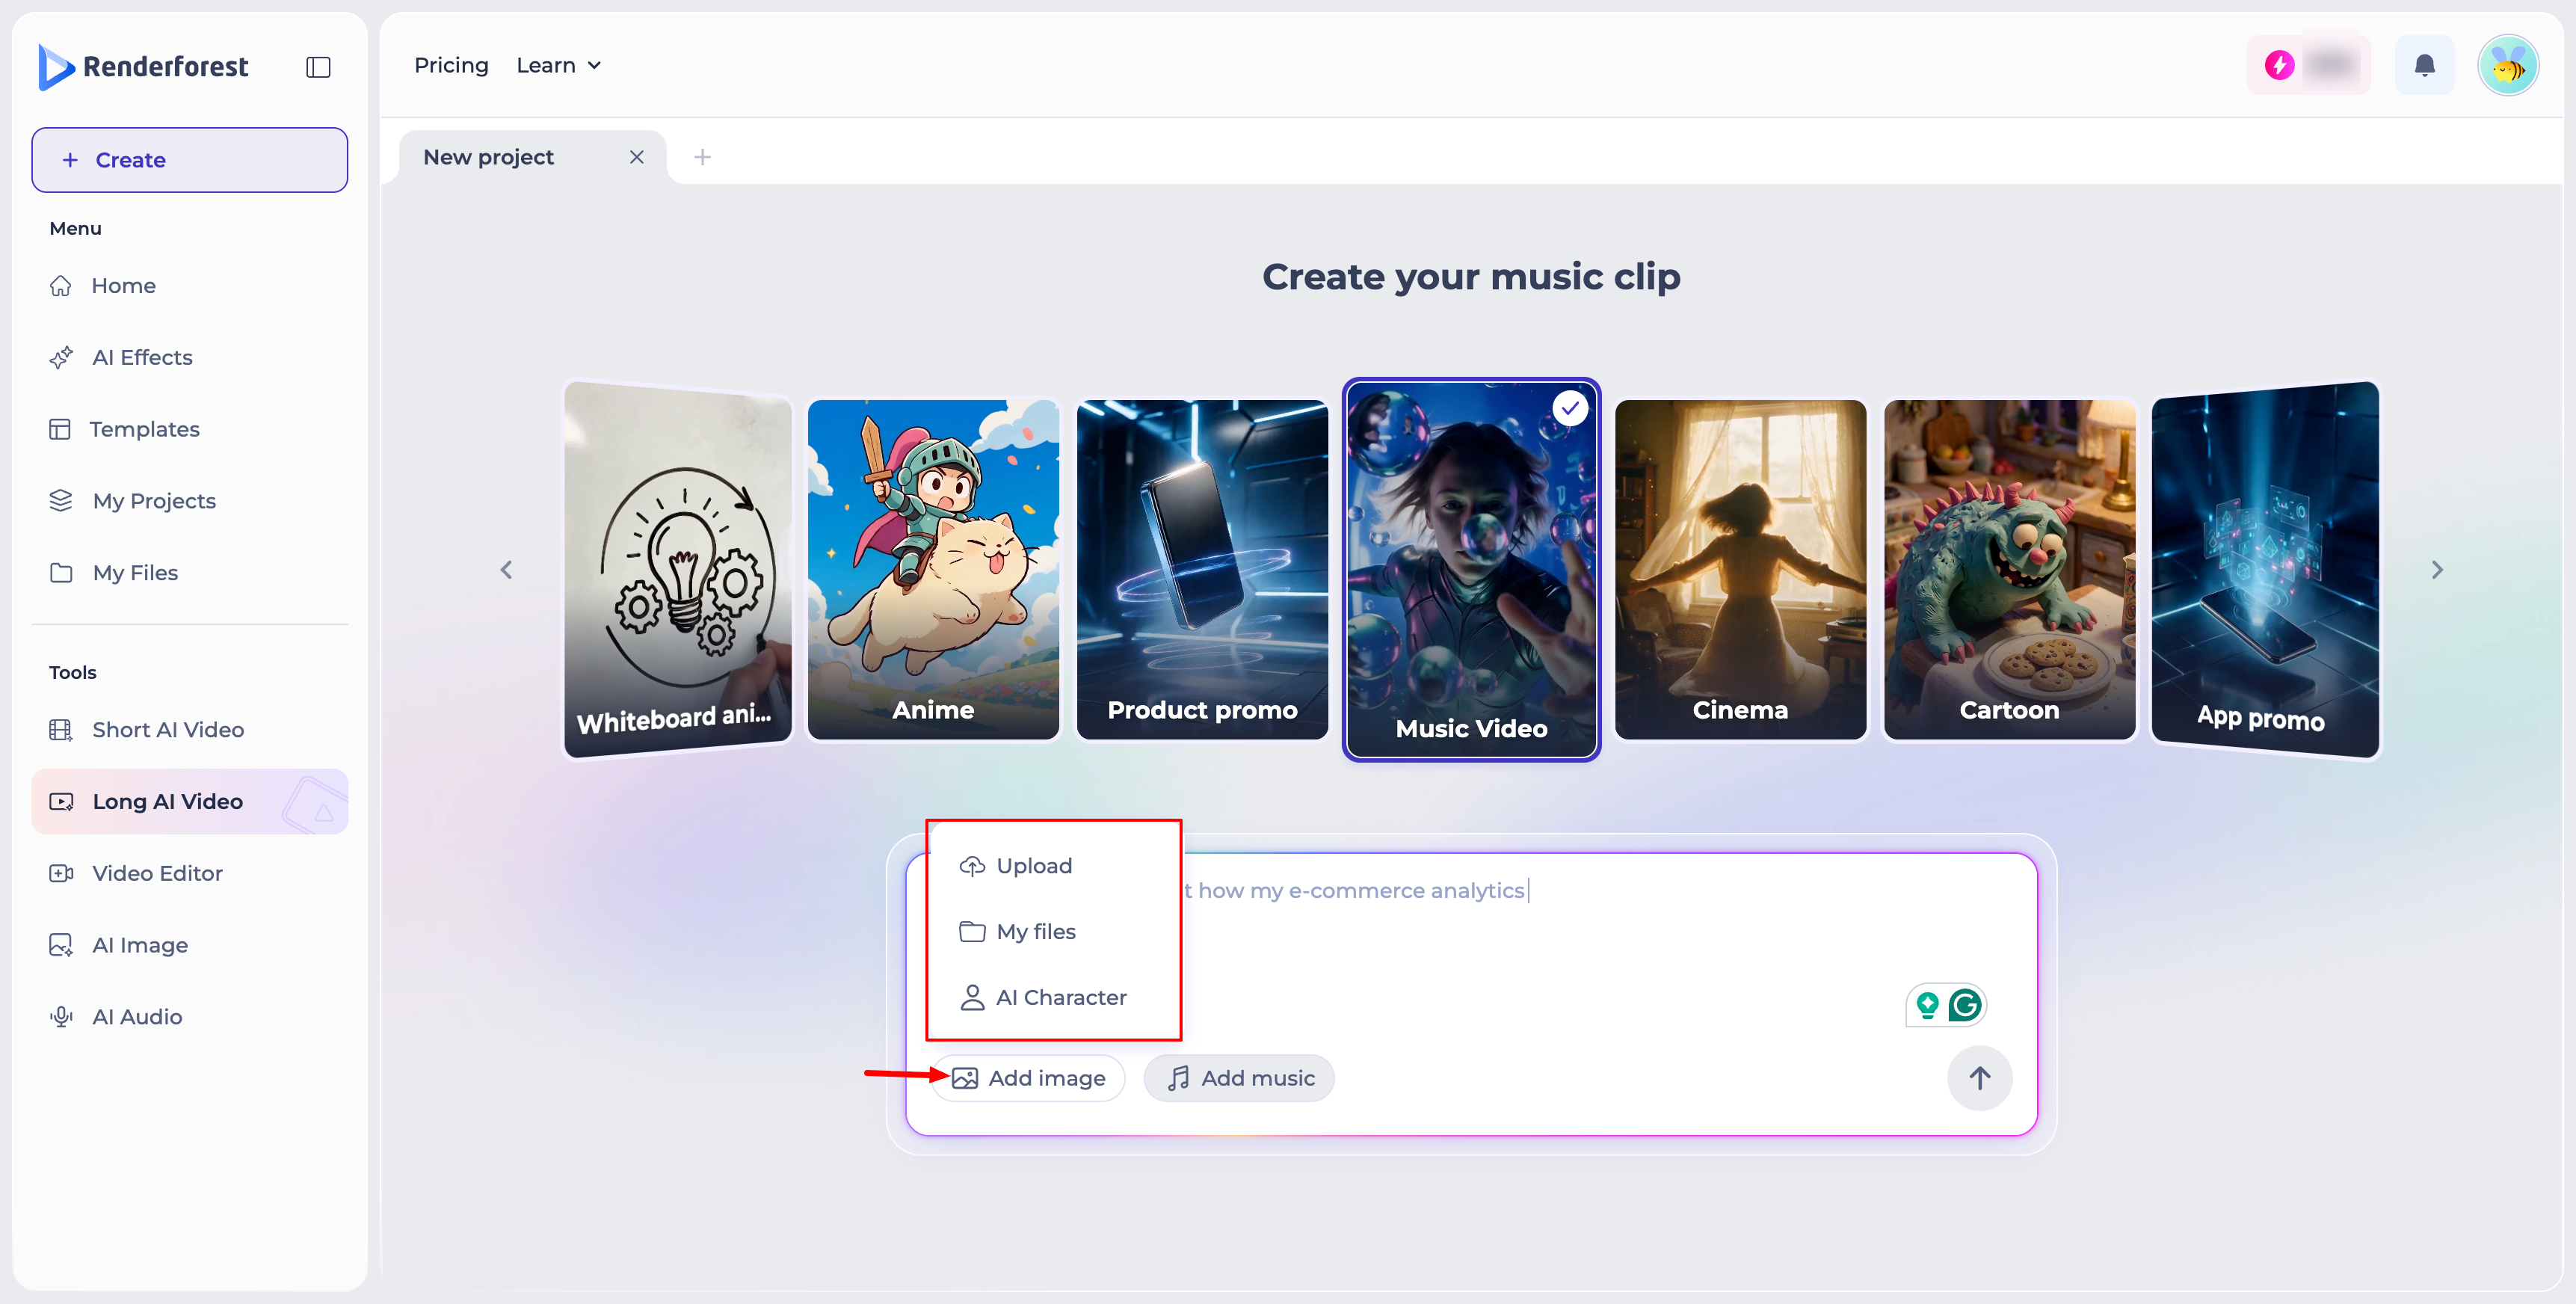
Once you're ready, click the send button to proceed.
Step 3: Choose a Style
Pick a visual style for your video, such as 2D Cartoon Illustration or one of the realistic, photographic-style options. Scroll through the available styles using the arrow to see more.
Step 4: Configure Settings
Customize your video with the following settings: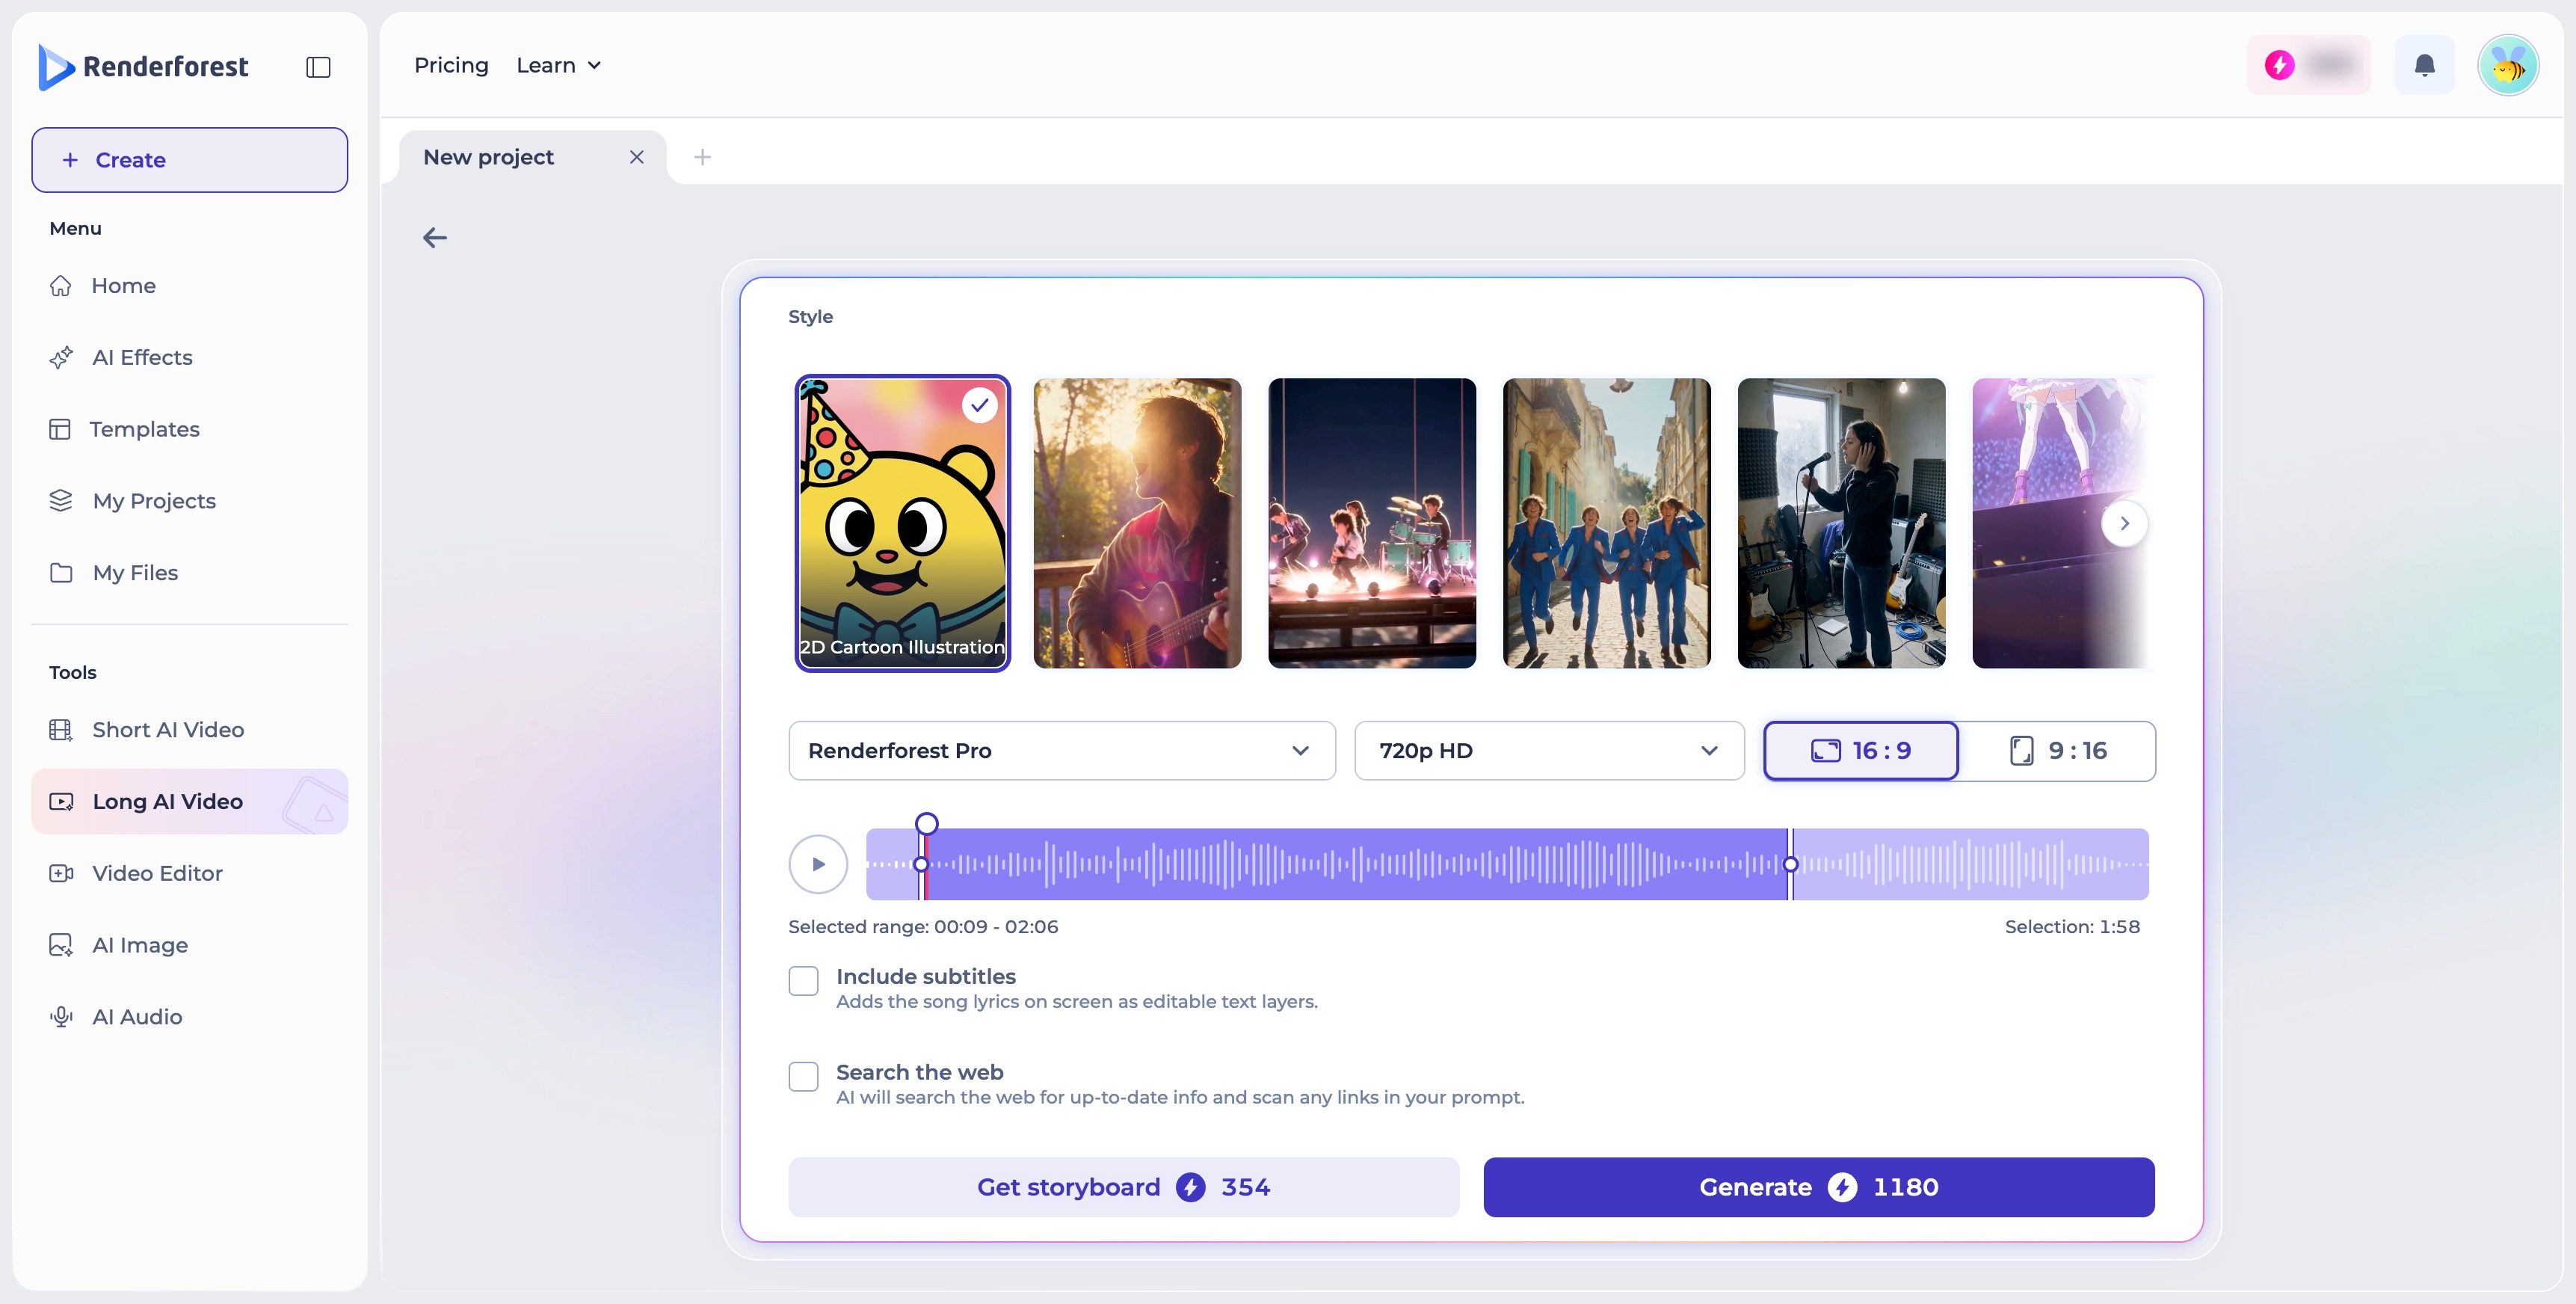
- Model — choose the AI model used to generate your video. Options include Renderforest Pro (with lip sync, optimized for rich detail and cinematic output), Renderforest Fast (ultra-fast rendering for simple scenes), Flux 3 (cinematic one-take generation up to 20 seconds, with keyframe-based image control and multilingual lip sync), Kling 3.0 Omni, and more — scroll through the dropdown to see the full list. Each model shows its credit cost per second of video.
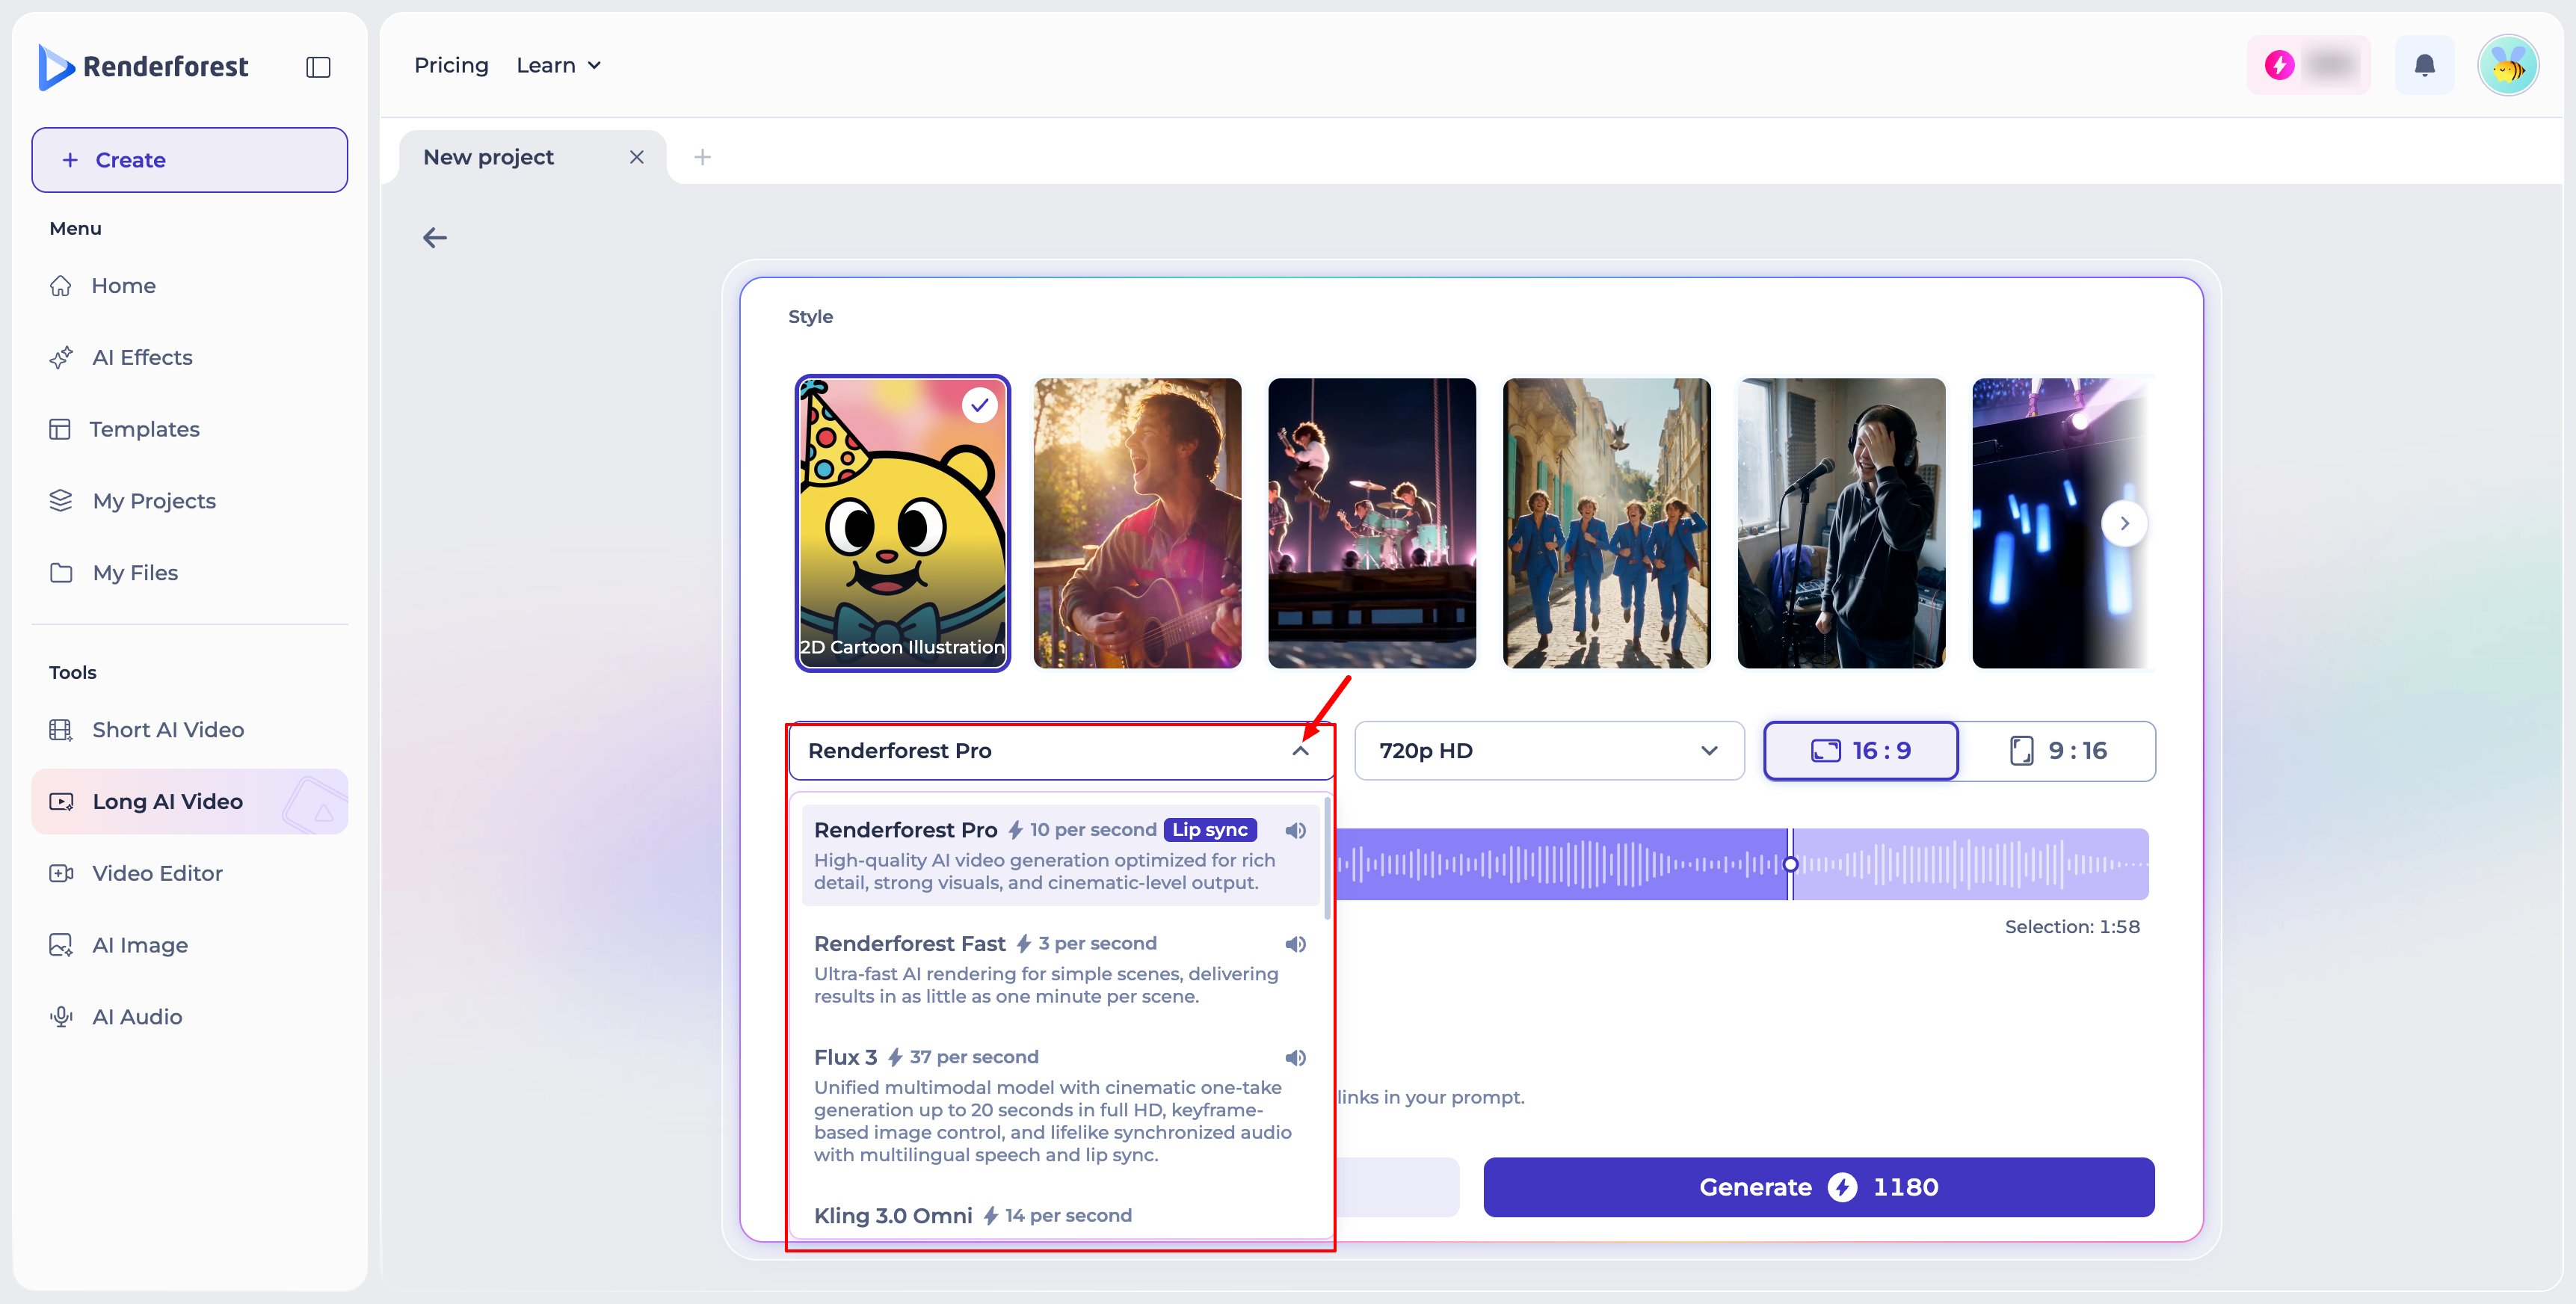
- Quality — set your output resolution (for example, 720p HD).
- Screen Size — choose between 16:9 (landscape) or 9:16 (vertical).
- Audio range — use the waveform to select which portion of your music track to use, shown as a selected range and total duration.
- Include subtitles — adds the song lyrics on screen as editable text layers.
- Search the web — lets the AI search the web for up-to-date info and scan any links in your prompt.
Step 5: Generate Your Video
Click Get storyboard to preview your video's scene breakdown first, or click Generate to create the full video directly. Both buttons show their respective credit cost before you commit.
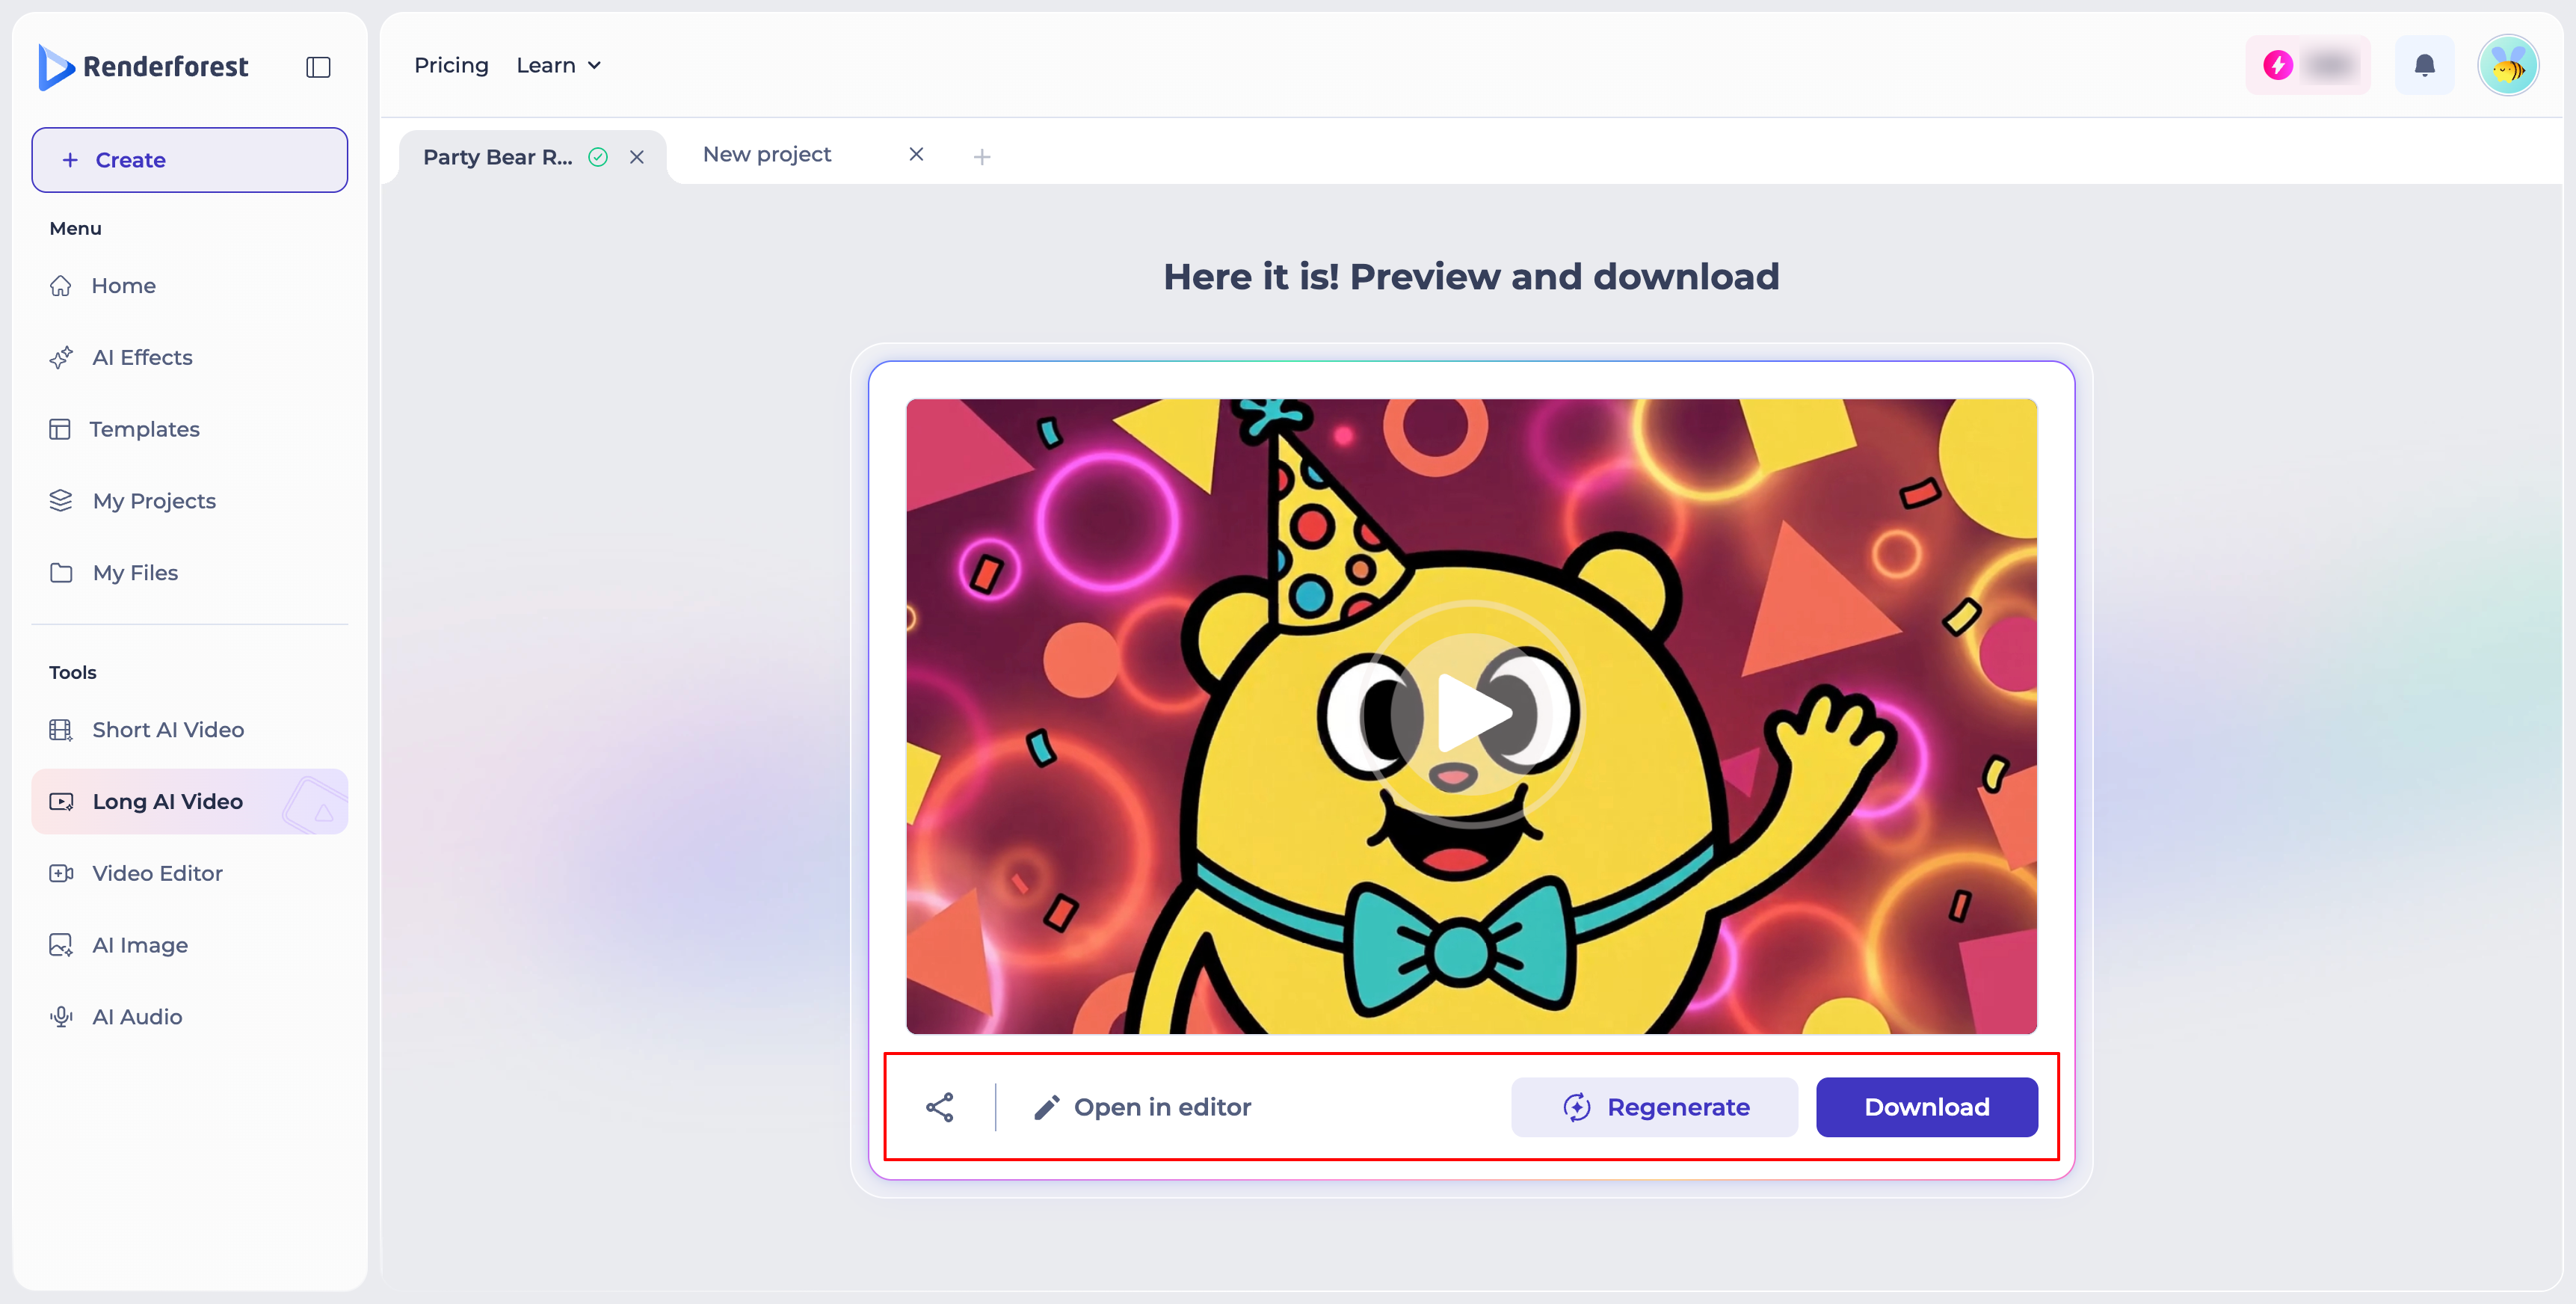
Once your video is generated, you'll land on a preview screen with a few options:
- Share — share your video via a link.
- Open in editor — make further customizations, such as adjusting scenes, editing text, or swapping media.
- Regenerate — create a new version of the video.
- Download — save the final video to your device.
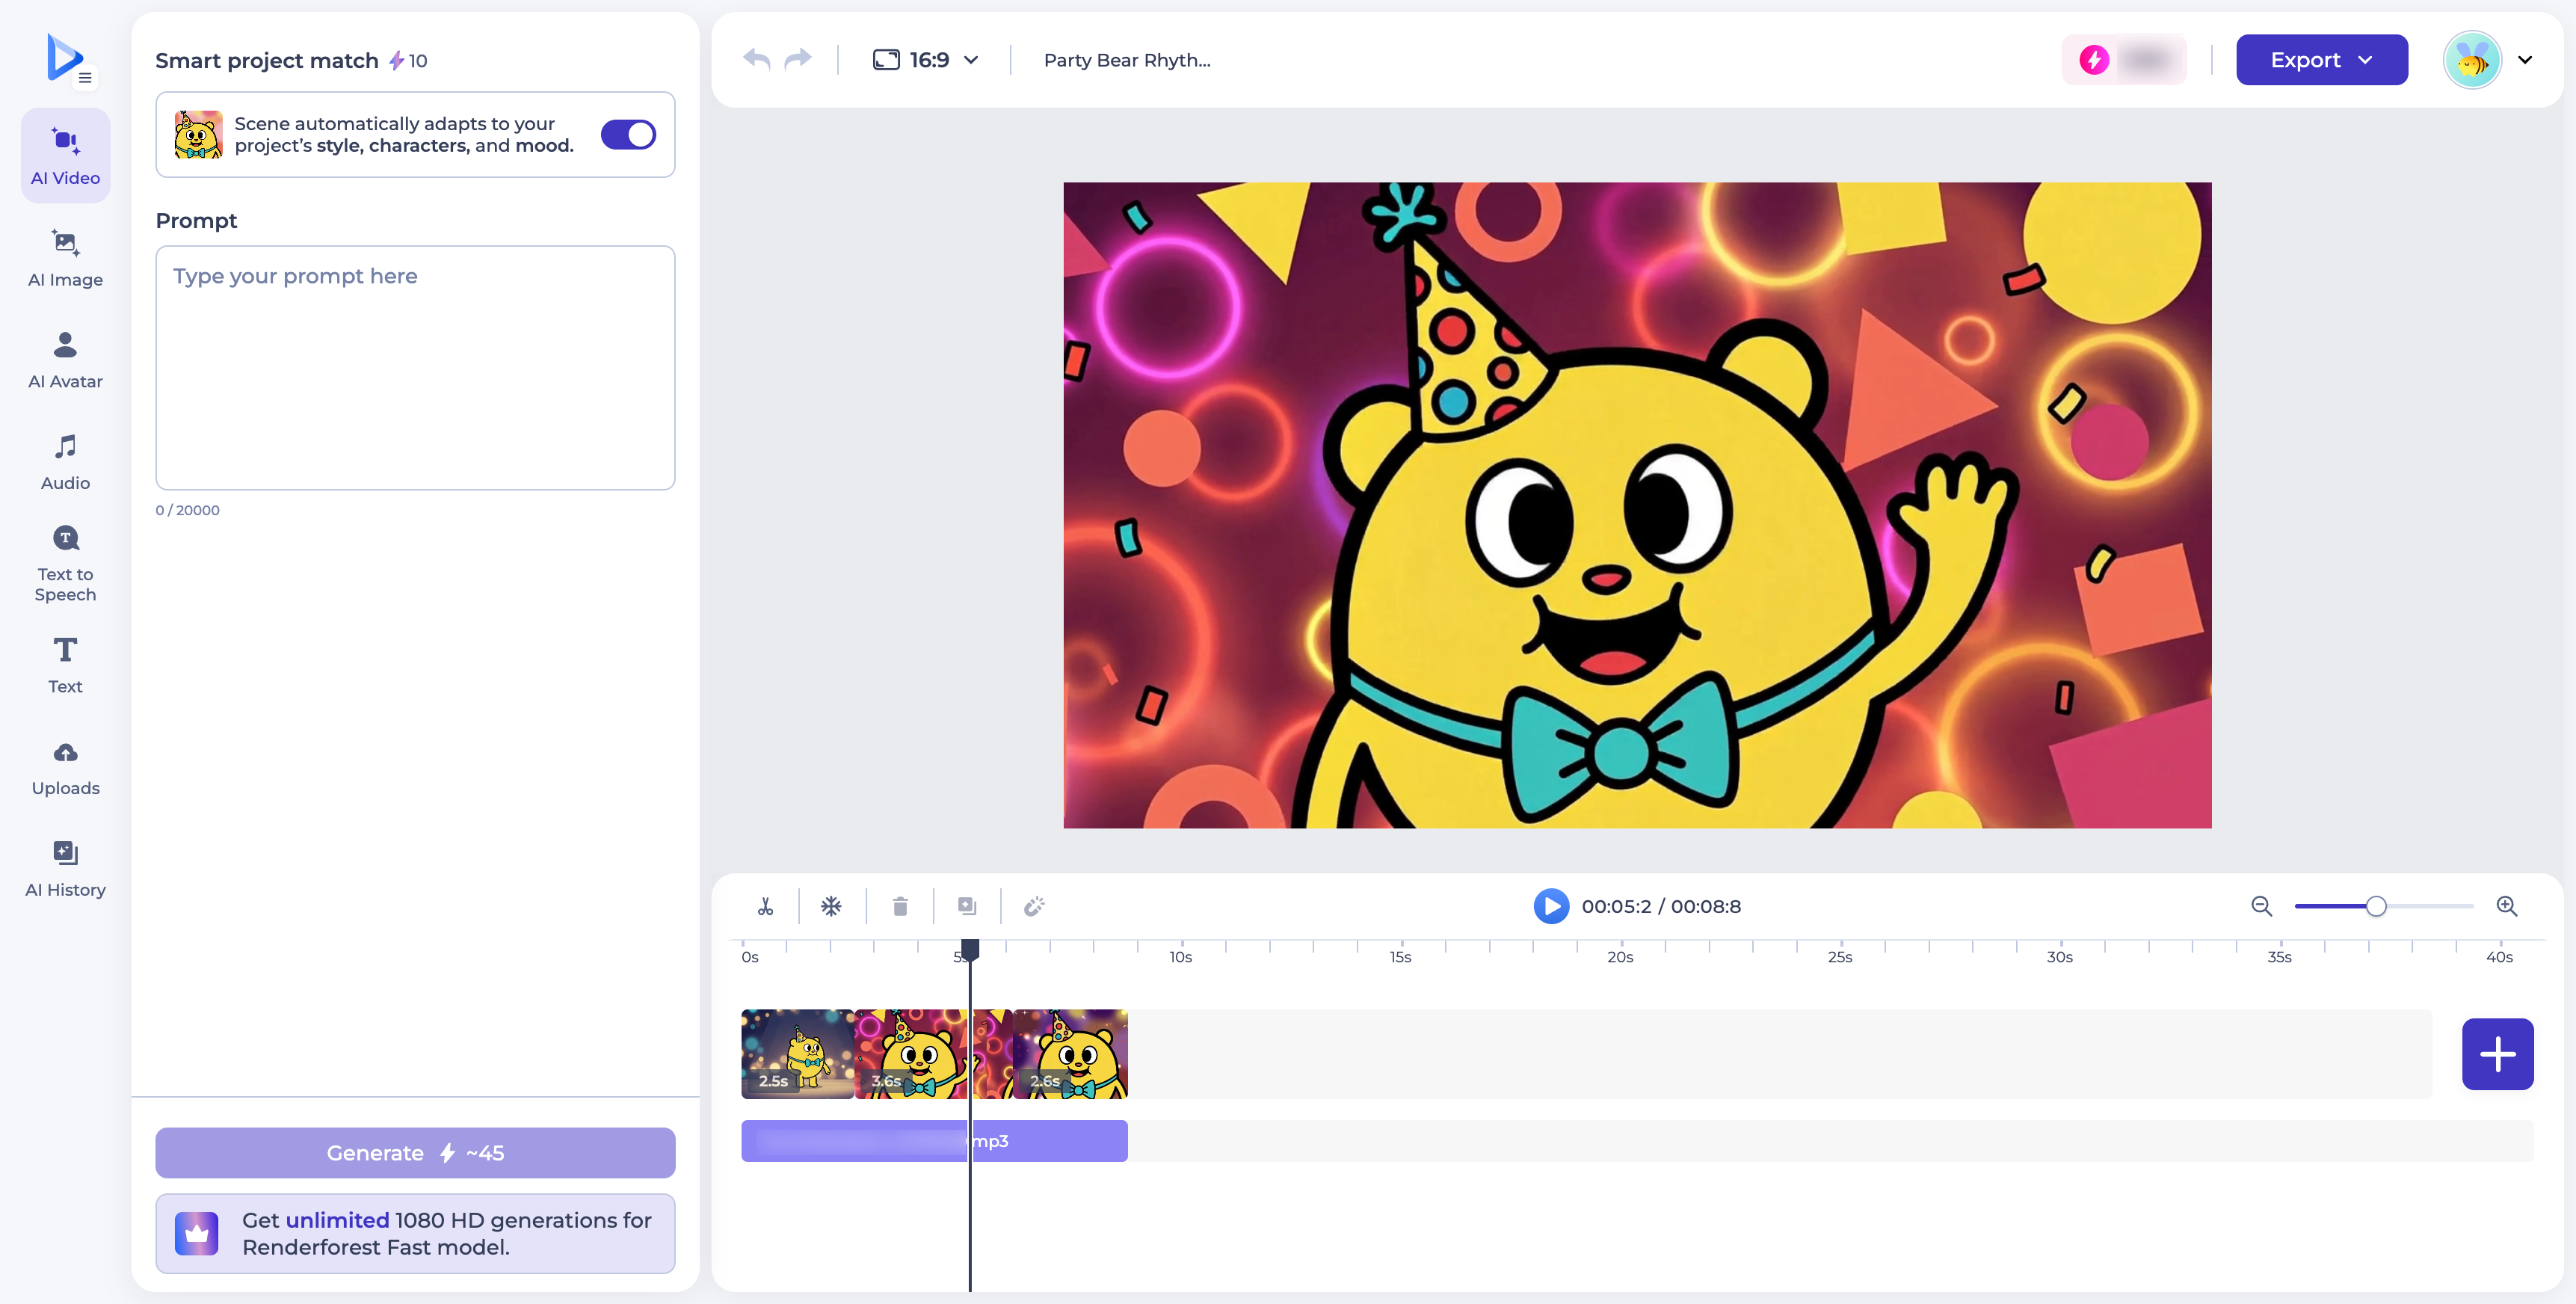
Once the video generation is complete, you can switch to the editor for further customization (scenes, text, media, timing) before exporting.
Was this article helpful?
That’s Great!
Thank you for your feedback
Sorry! We couldn't be helpful
Thank you for your feedback
Feedback sent
We appreciate your effort and will try to fix the article