TABLE OF CONTENTS
- Voiceover
- Change Voice
- Translate
- Managing a Generated Clip
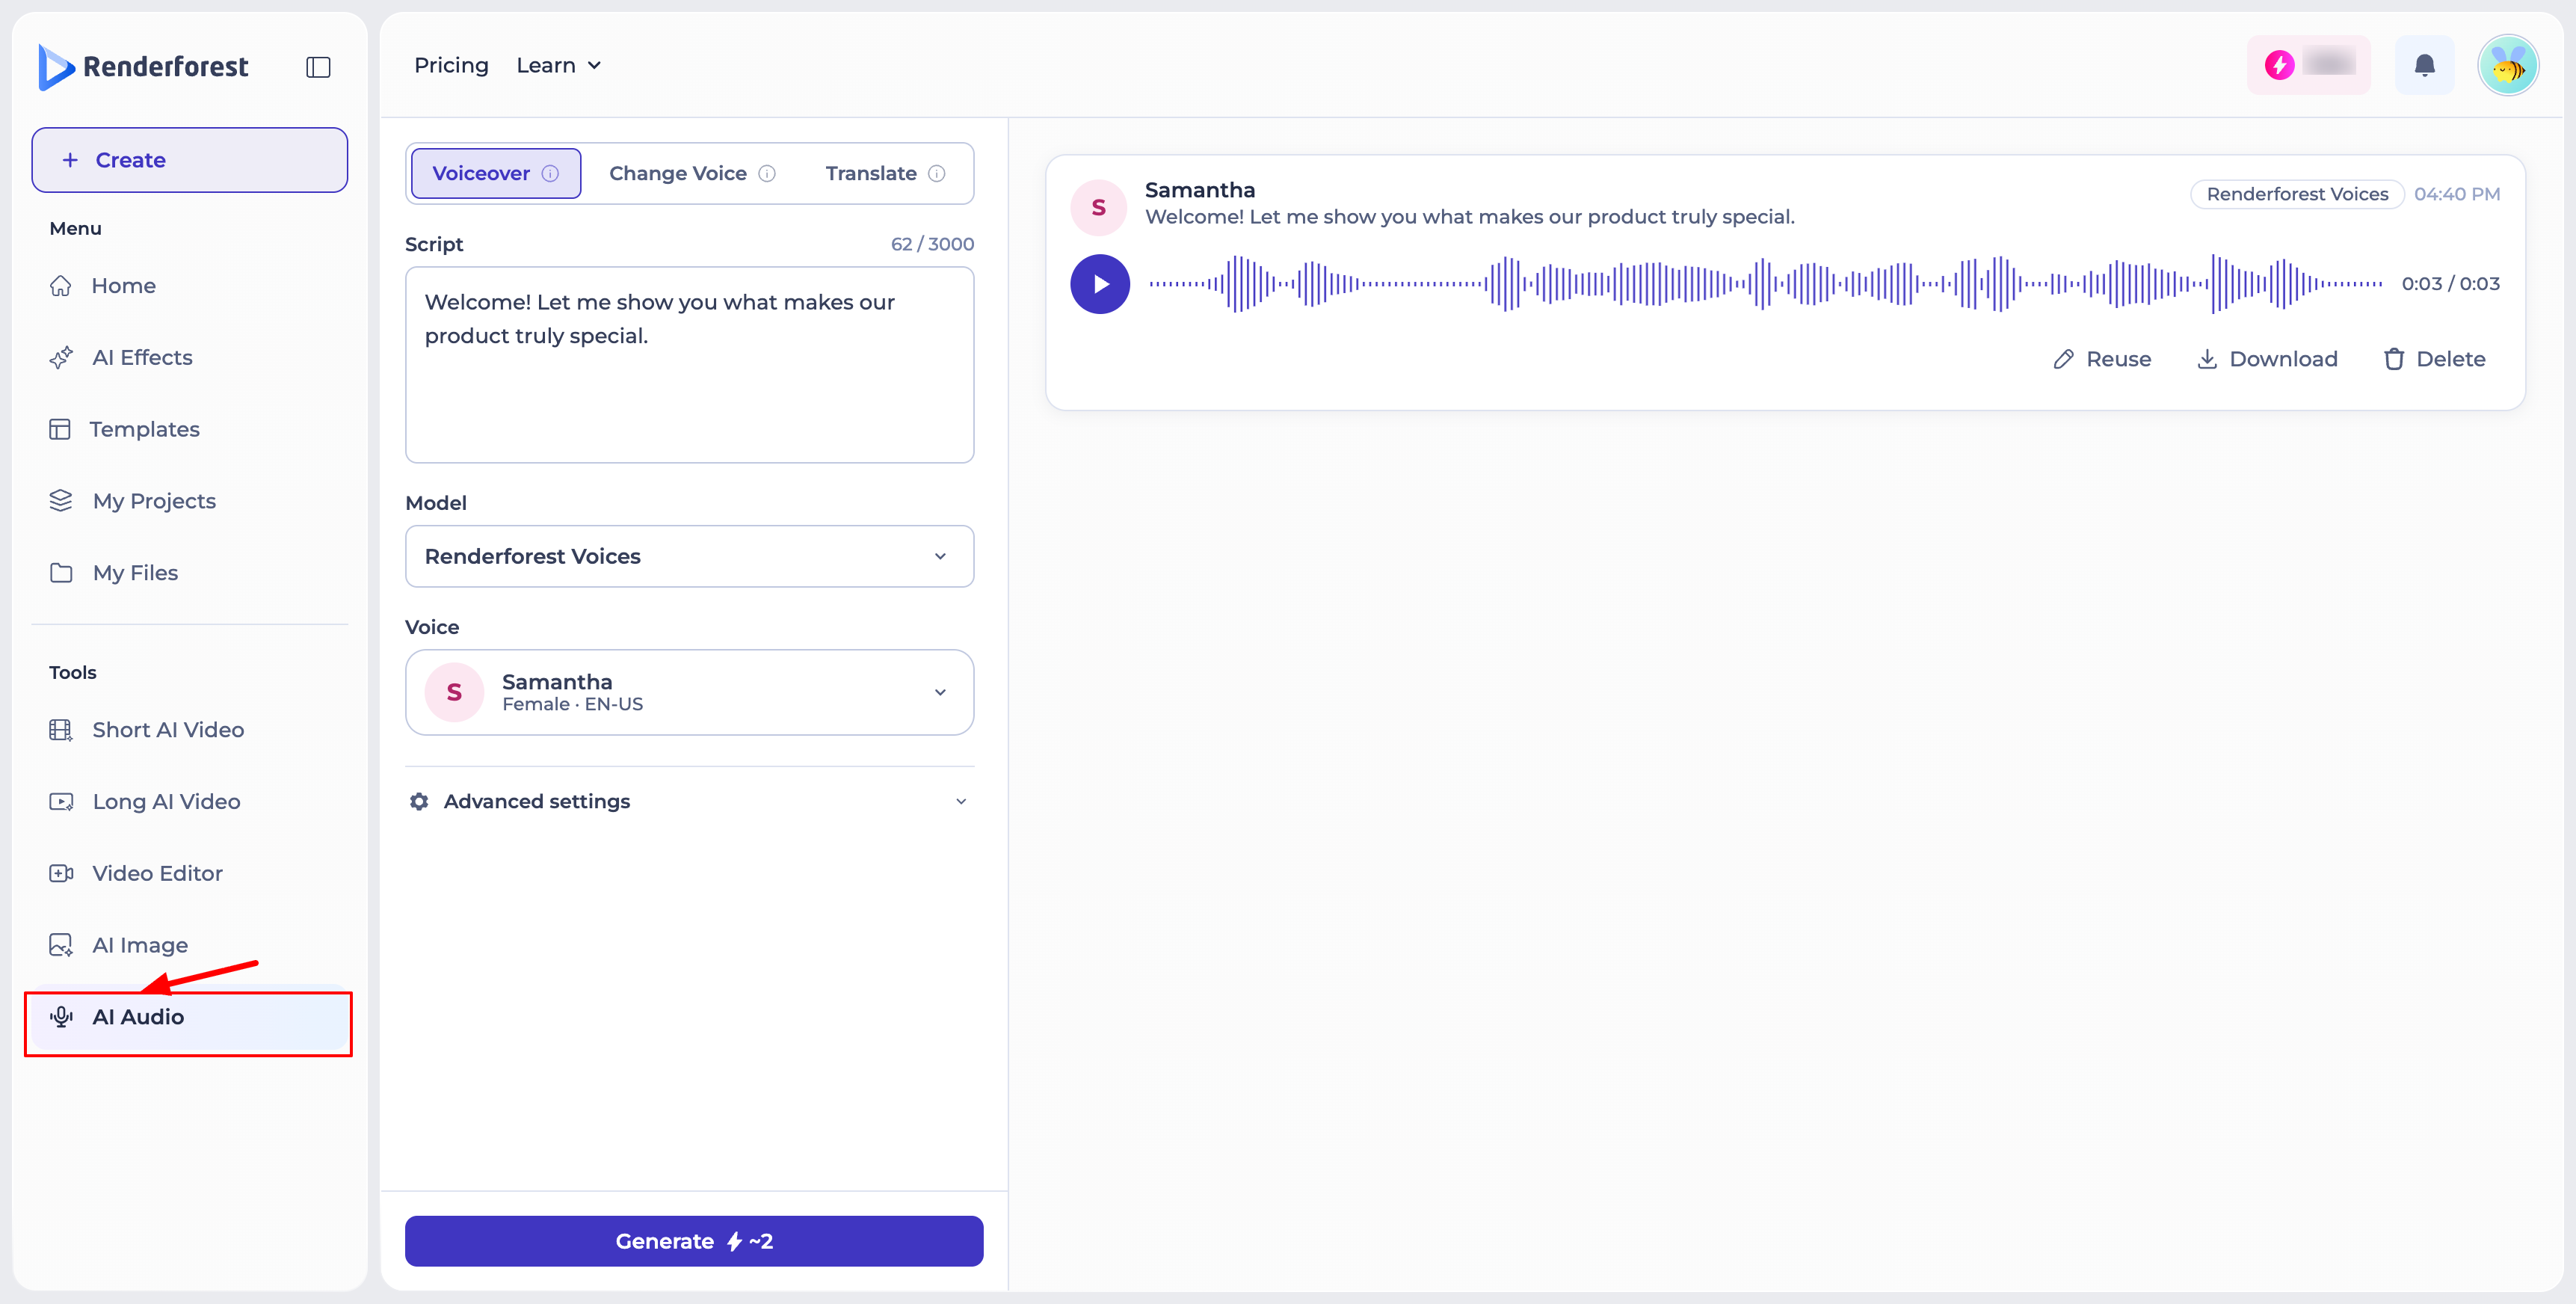
Renderforest's AI Audio tool covers three ways to work with voice: generate a brand-new voiceover from a script, swap the voice on an existing clip while keeping its performance, or translate a clip into another language. Access it from "Create" or the left-hand Tools menu under "AI Audio."
Voiceover
- Write your Script: enter the text you want turned into speech (up to 3,000 characters).
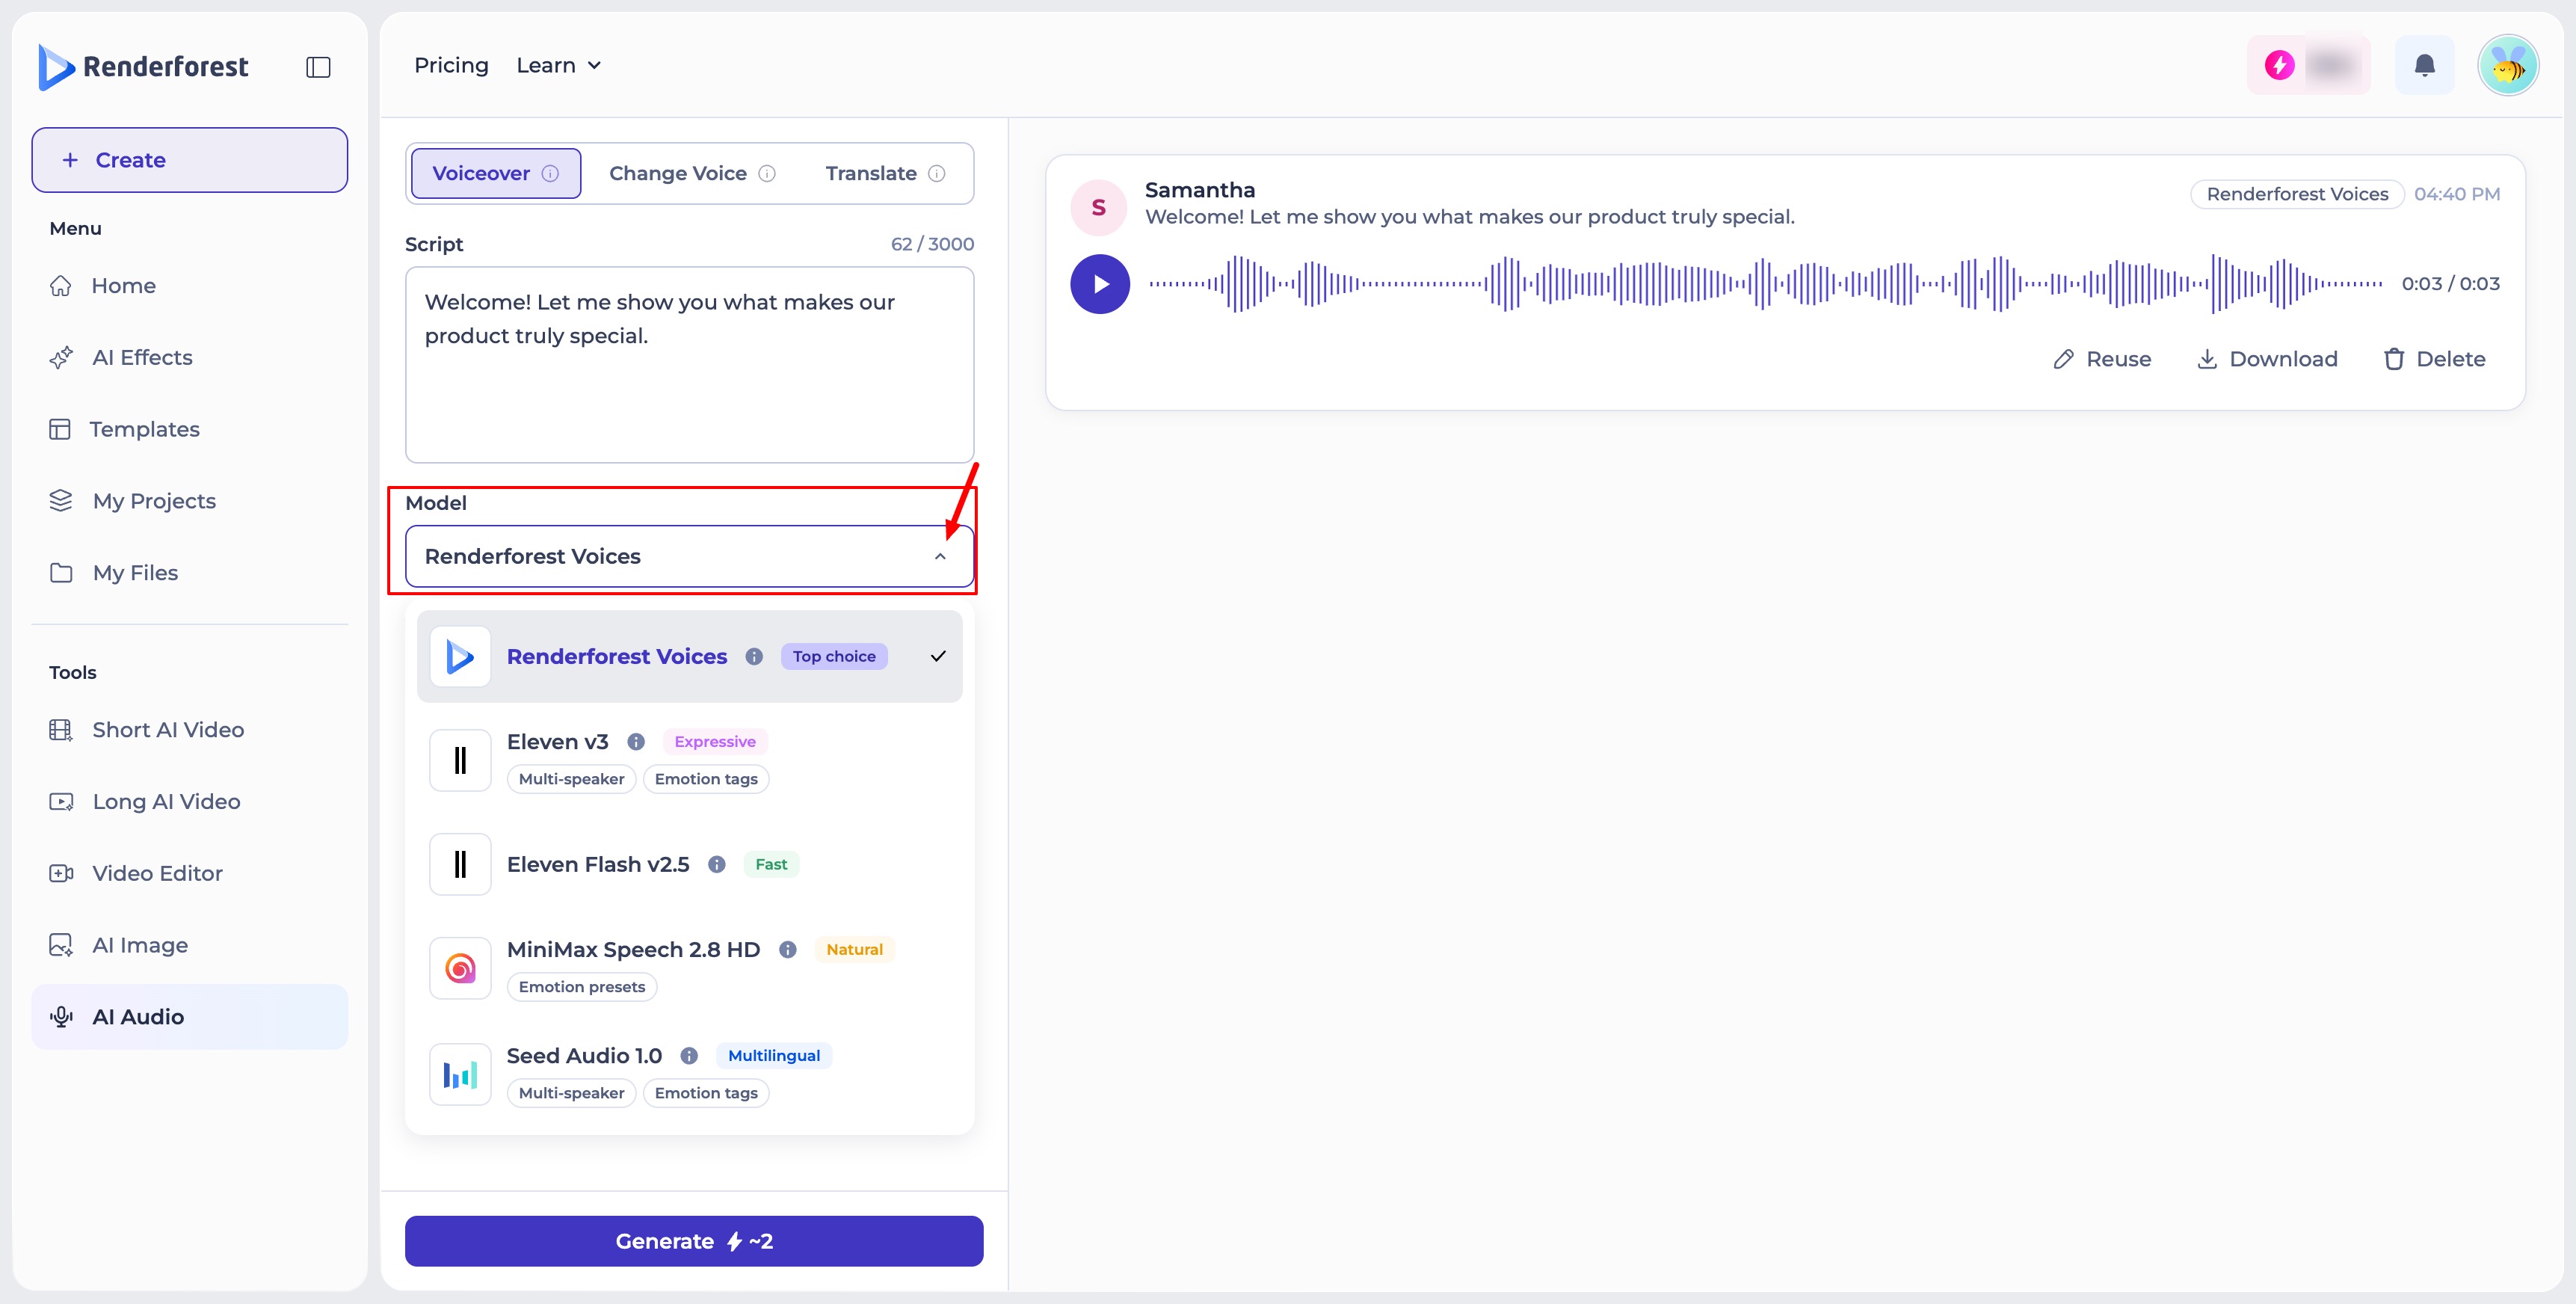
- Choose your Model: select from Renderforest Voices (the default top choice), Eleven v3 (expressive, supports multiple speakers and emotion tags), Eleven Flash v2.5 (fast), MiniMax Speech 2.8 HD (natural, with emotion presets), or Seed Audio 1.0 (multilingual, supports multiple speakers and emotion tags).
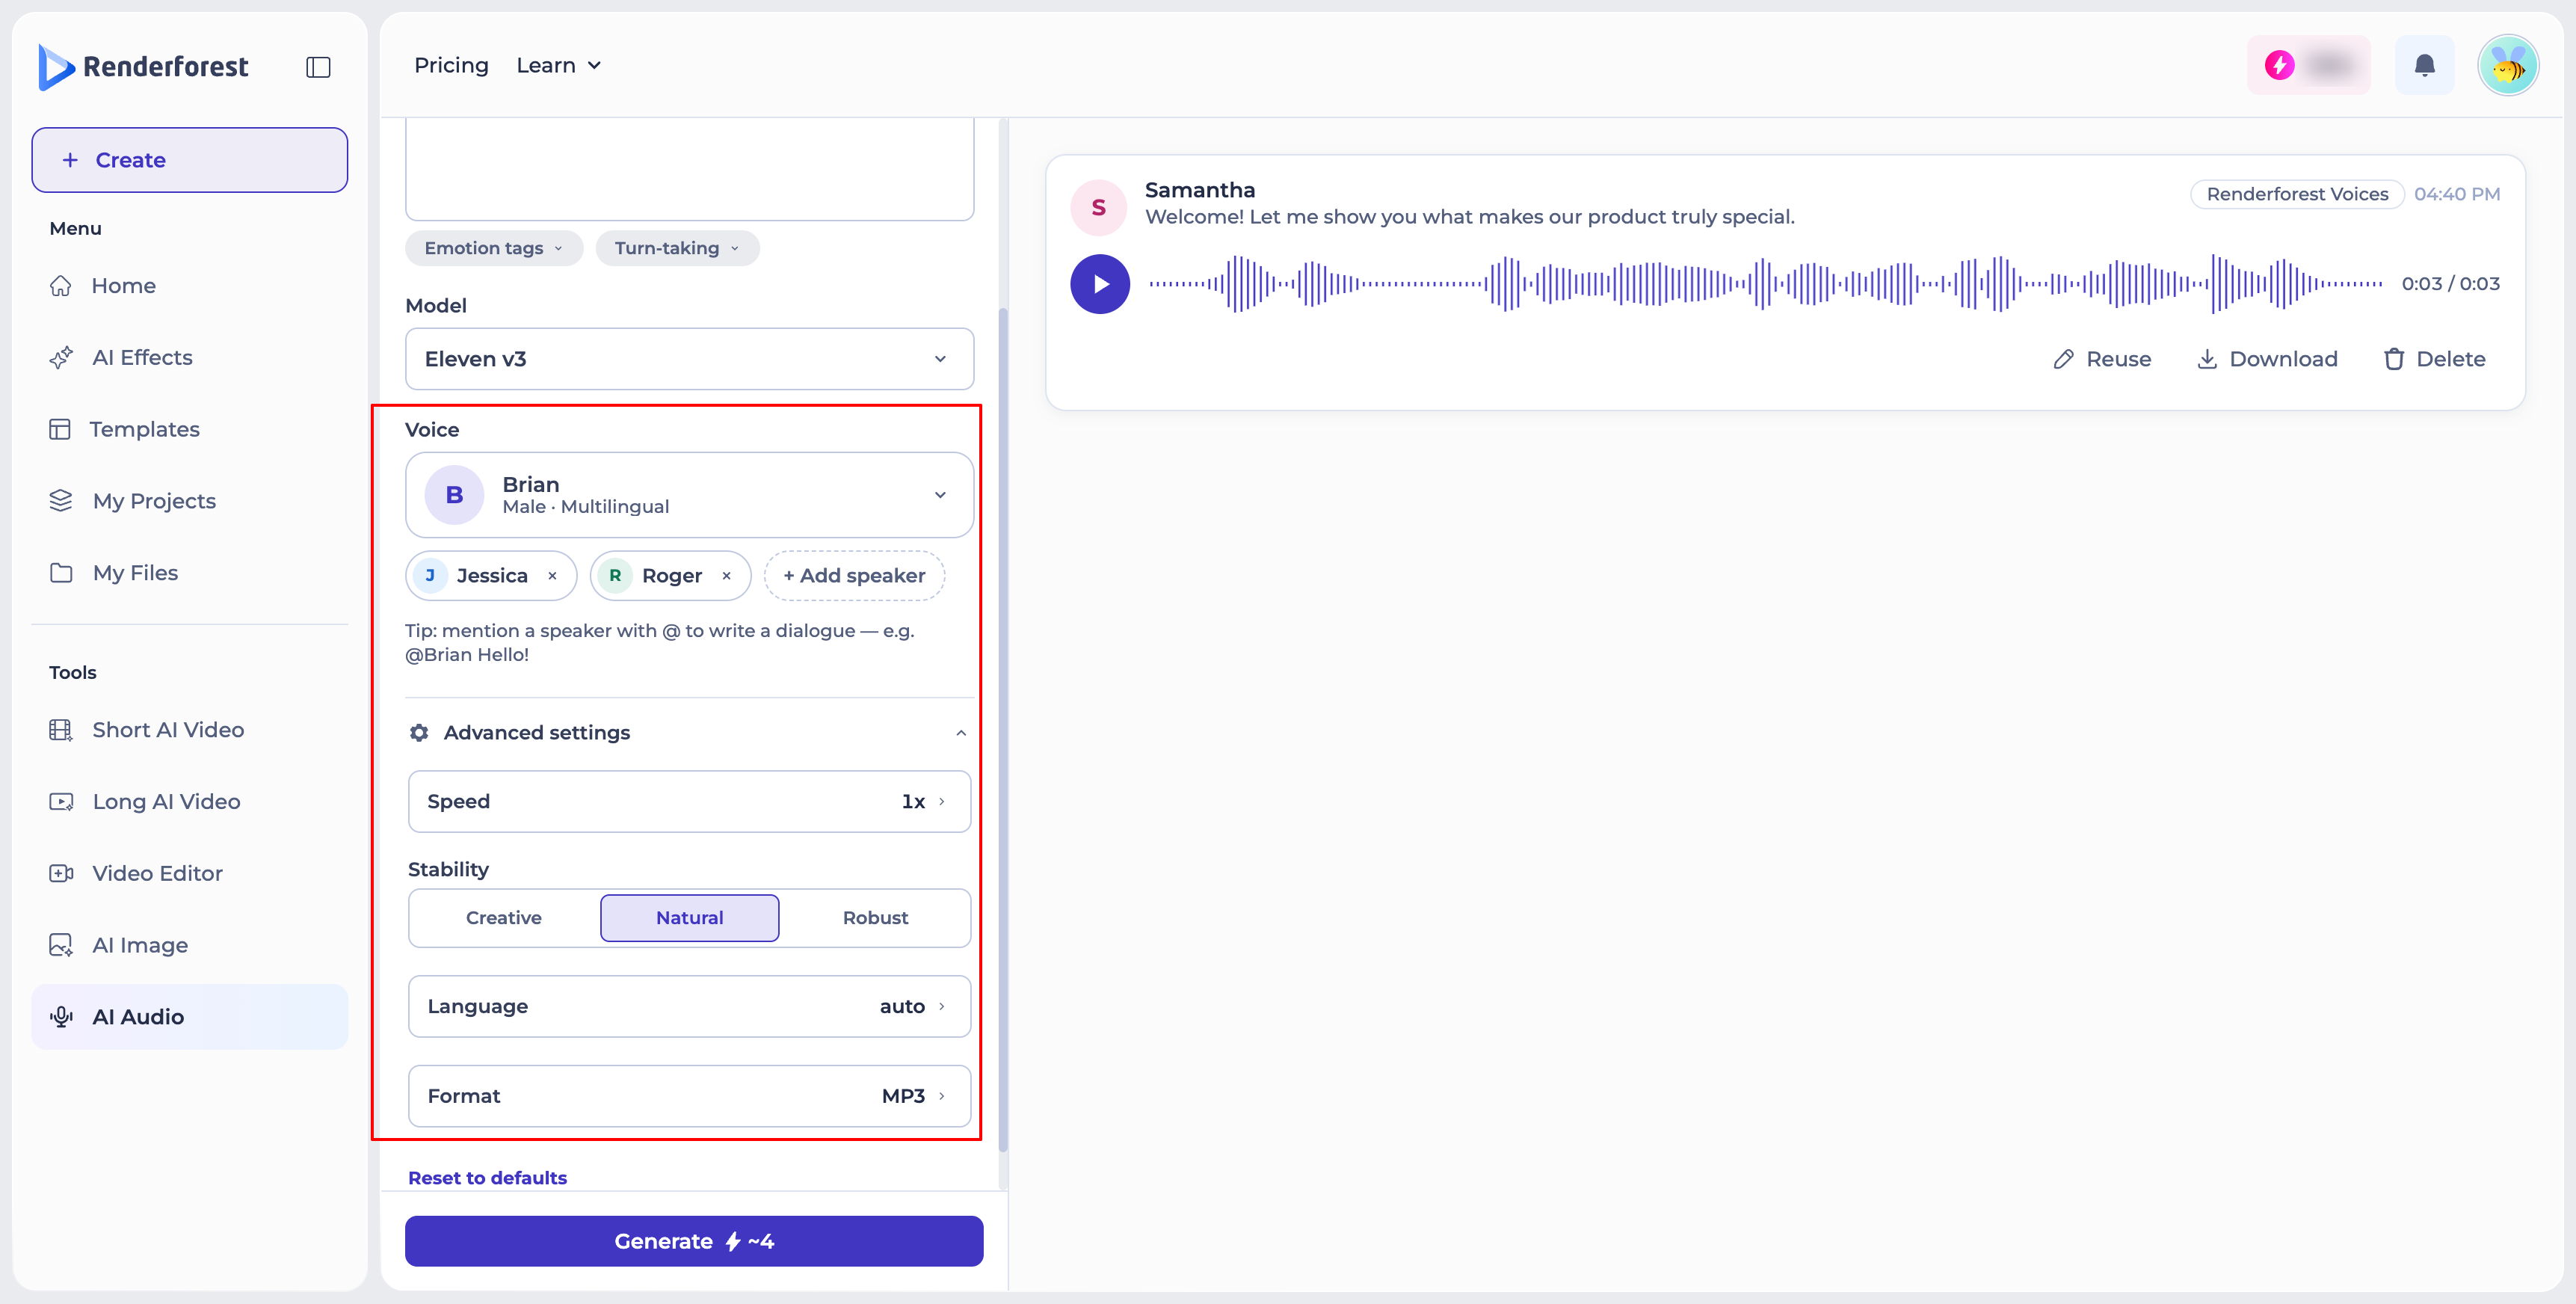
- Choose your Voice: pick a voice for your script. With models that support multiple speakers, you can add additional voices using "+ Add speaker," then reference each one in your script with "@" to write dialogue — for example, "@Brian Hello!"
- Adjust Advanced Settings (optional): fine-tune Speed, Stability (Creative, Natural, or Robust), Language, and output Format (e.g., MP3). Use "Reset to Defaults" to undo your changes.
- Click "Generate" — the credit cost is shown on the button before you confirm.
Change Voice
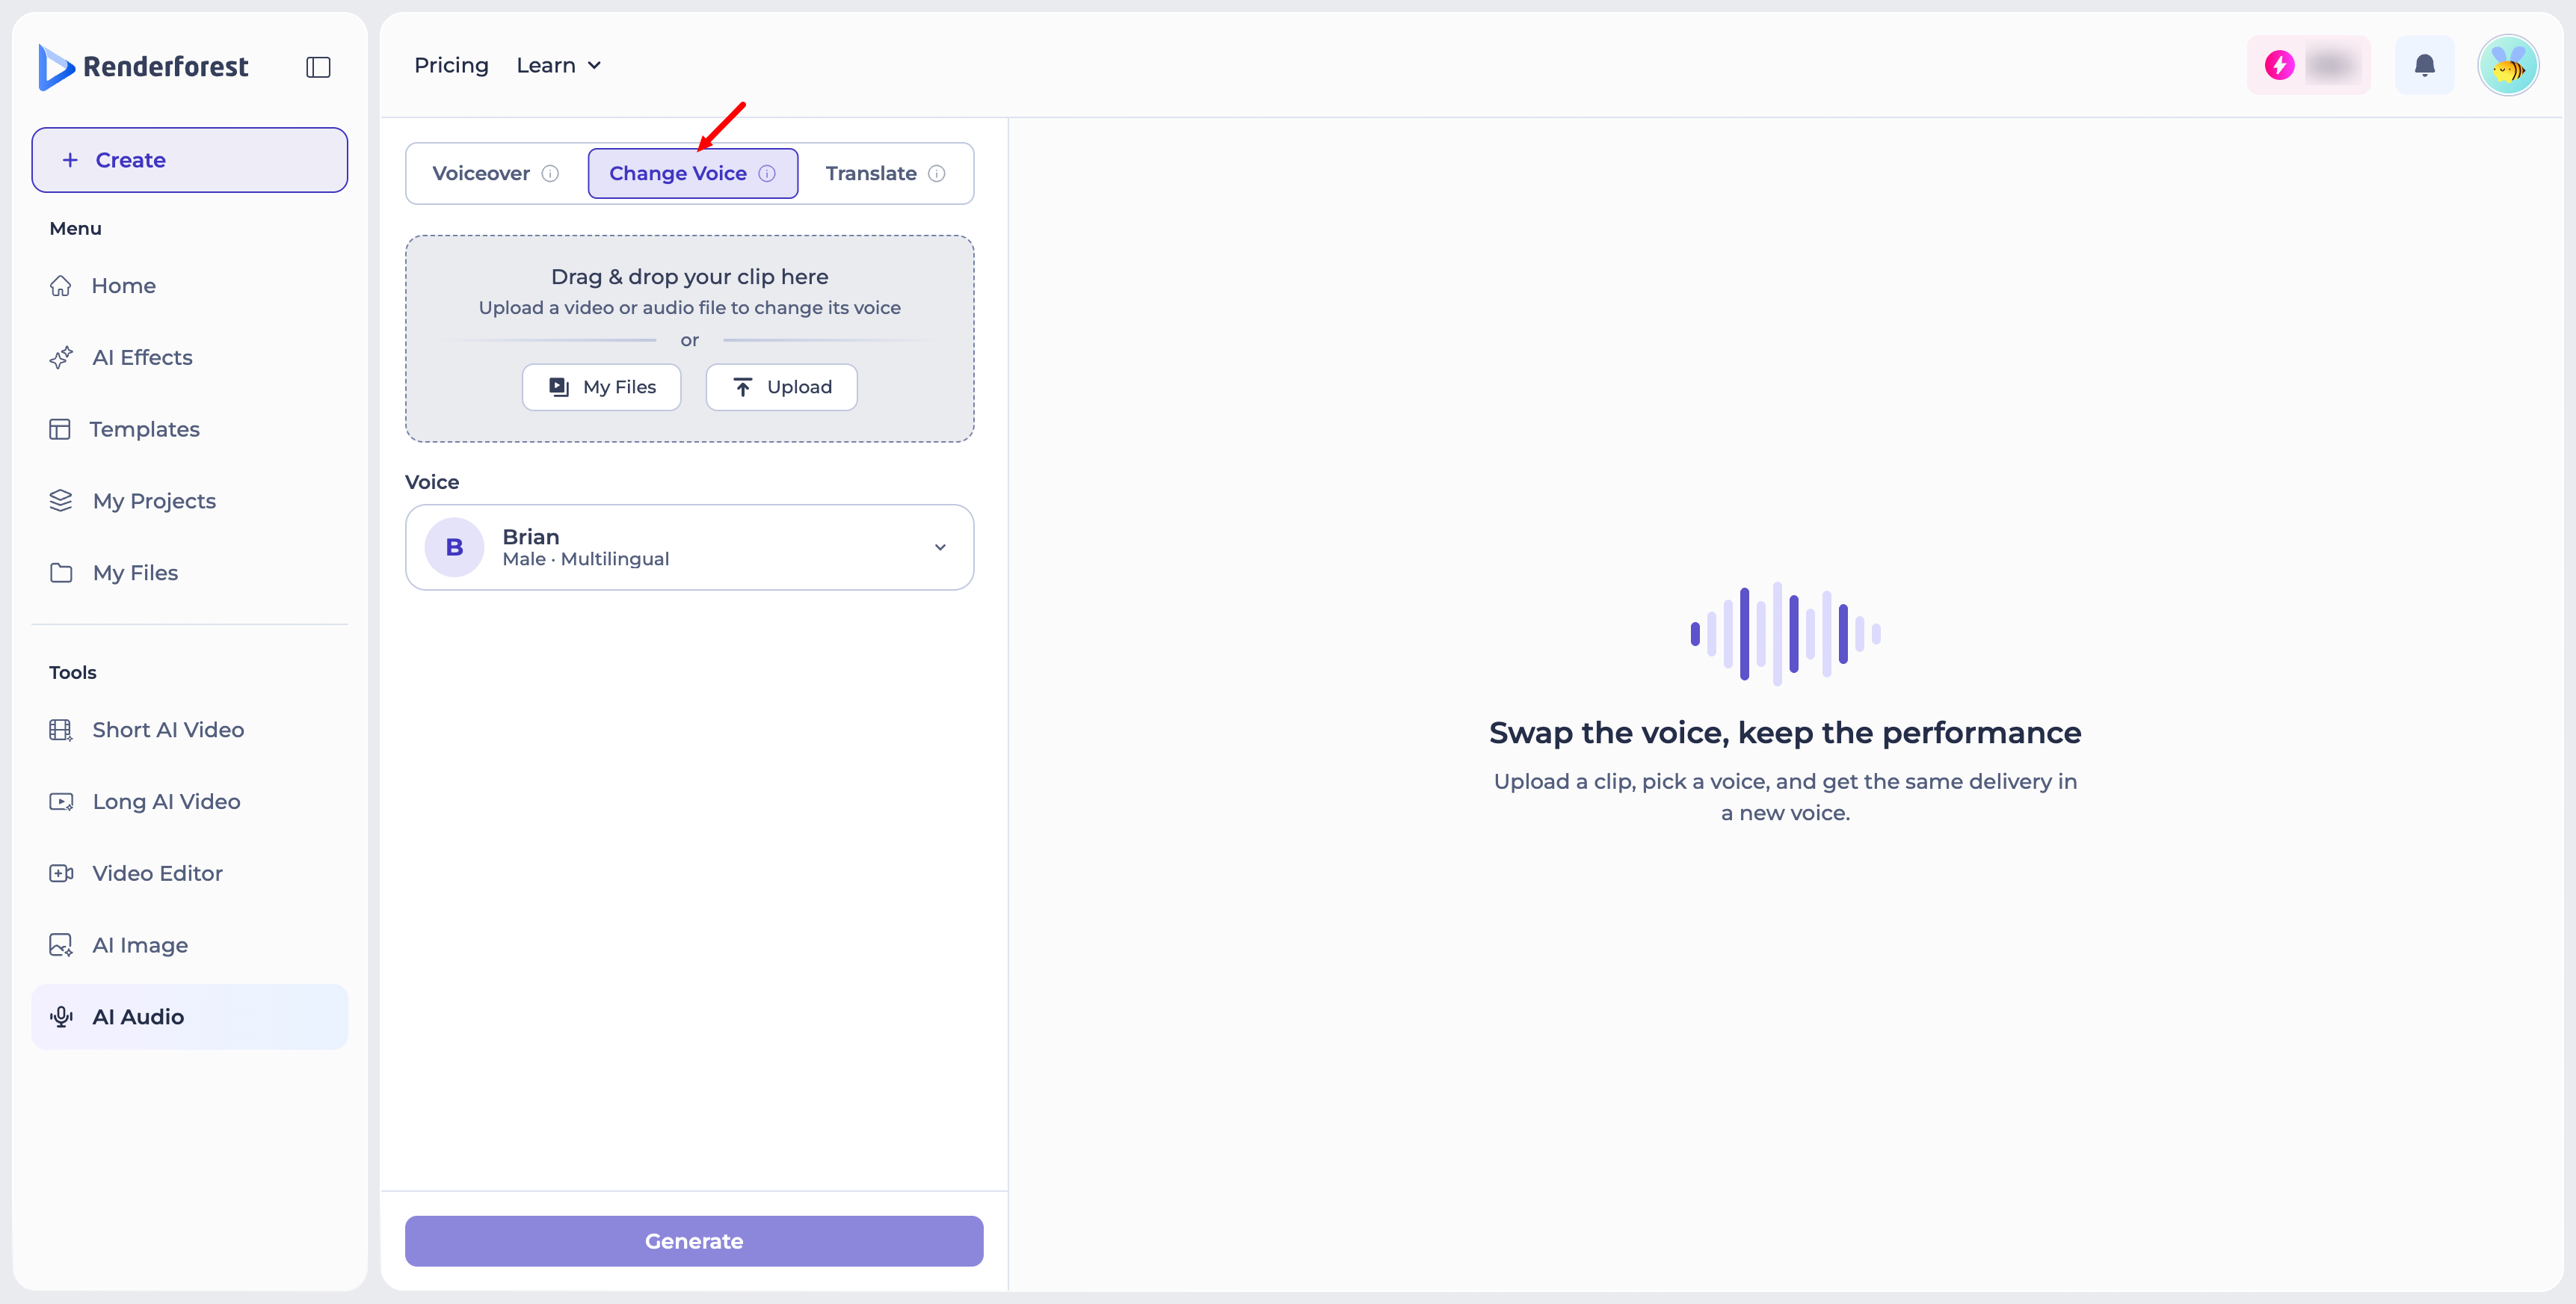
Change Voice lets you swap the voice on an existing clip while keeping its original performance and timing.
- Drag and drop a video or audio file, or add one via "My Files" or "Upload."
- Choose the Voice you want to apply to the clip.
- Click "Generate."
Translate
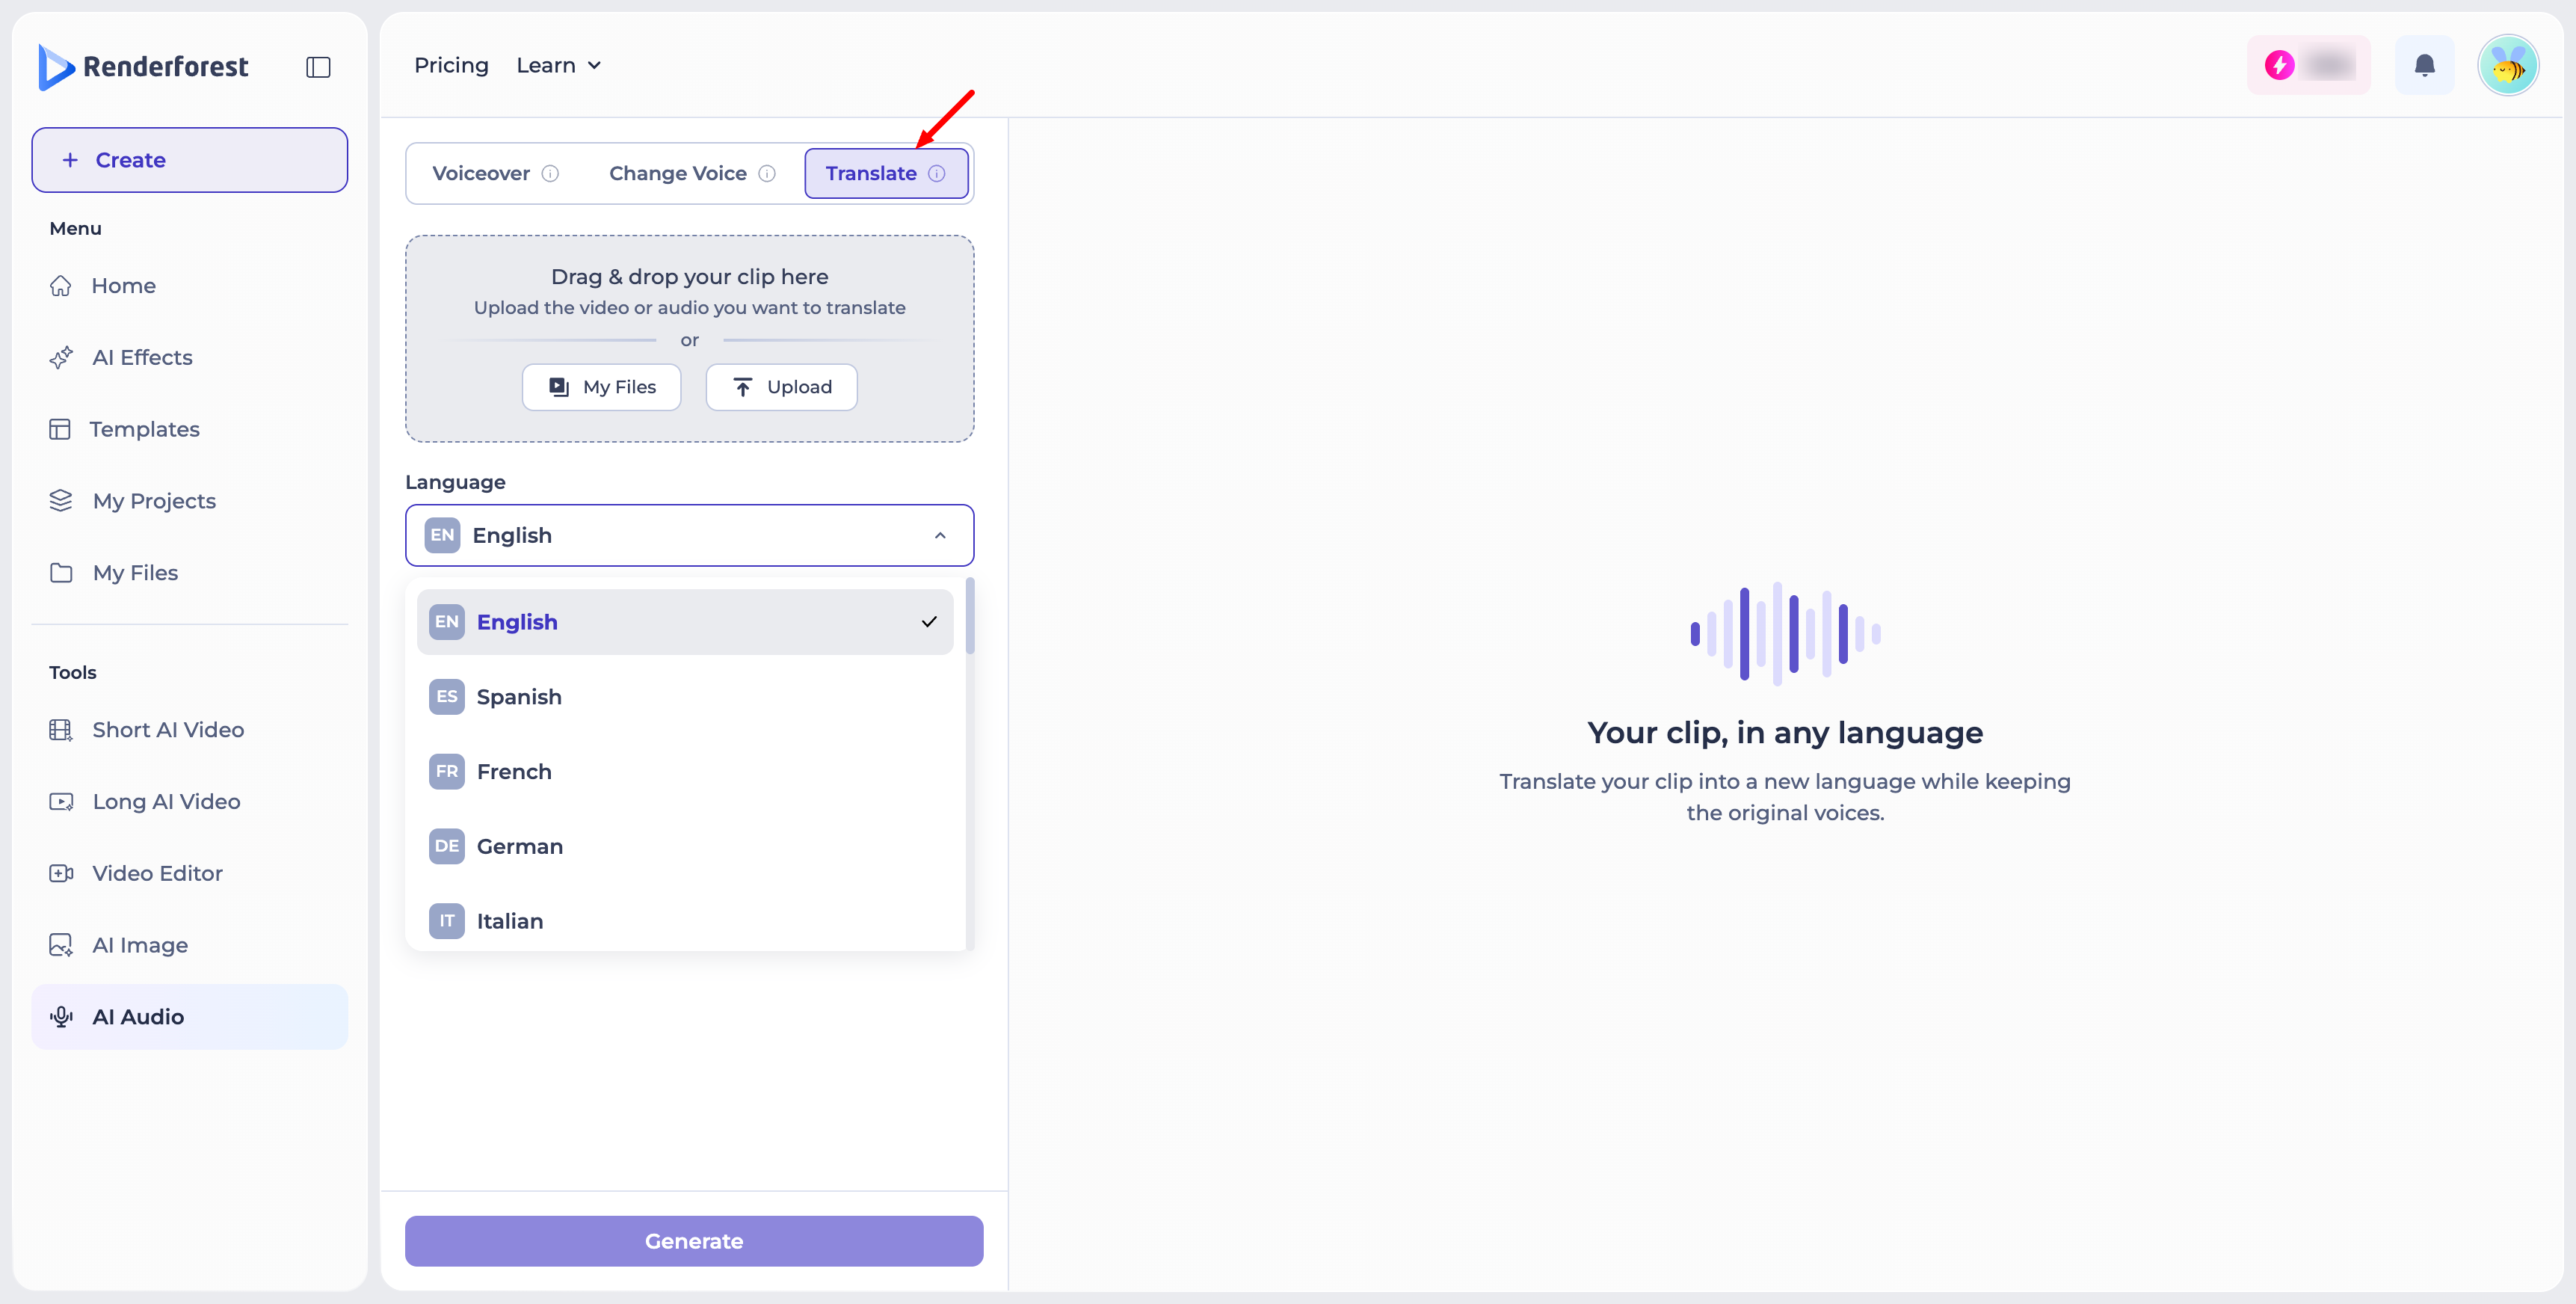
Translate lets you convert a clip into another language while keeping the original voices.
- Drag and drop a video or audio file, or add one via "My Files" or "Upload."
- Choose your target Language — options include English, Spanish, French, German, Italian, and more.
- Click "Generate."
Managing a Generated Clip
Once generated, your clip appears with a waveform player showing the speaker, model used, and timestamp. From there, you can:
- Reuse: bring the script and settings back into the editor to generate again or make changes.
- Download: save the audio file to your device.
- Delete: remove the clip.
Was this article helpful?
That’s Great!
Thank you for your feedback
Sorry! We couldn't be helpful
Thank you for your feedback
Feedback sent
We appreciate your effort and will try to fix the article