By default, your website is published on a free Renderforest subdomain. To give your business a professional look, you can connect a custom domain (e.g., www.yourbrand.com) following these steps:
Option 1: Connect a Domain You Already Own
If you purchased your domain from another provider (like GoDaddy or Namecheap):
Open Settings: Inside the website editor, click the Settings icon in the left sidebar.
Select Domain: Go to the Domain tab.
Enter Your URL: Type your domain name into the field and click Connect.
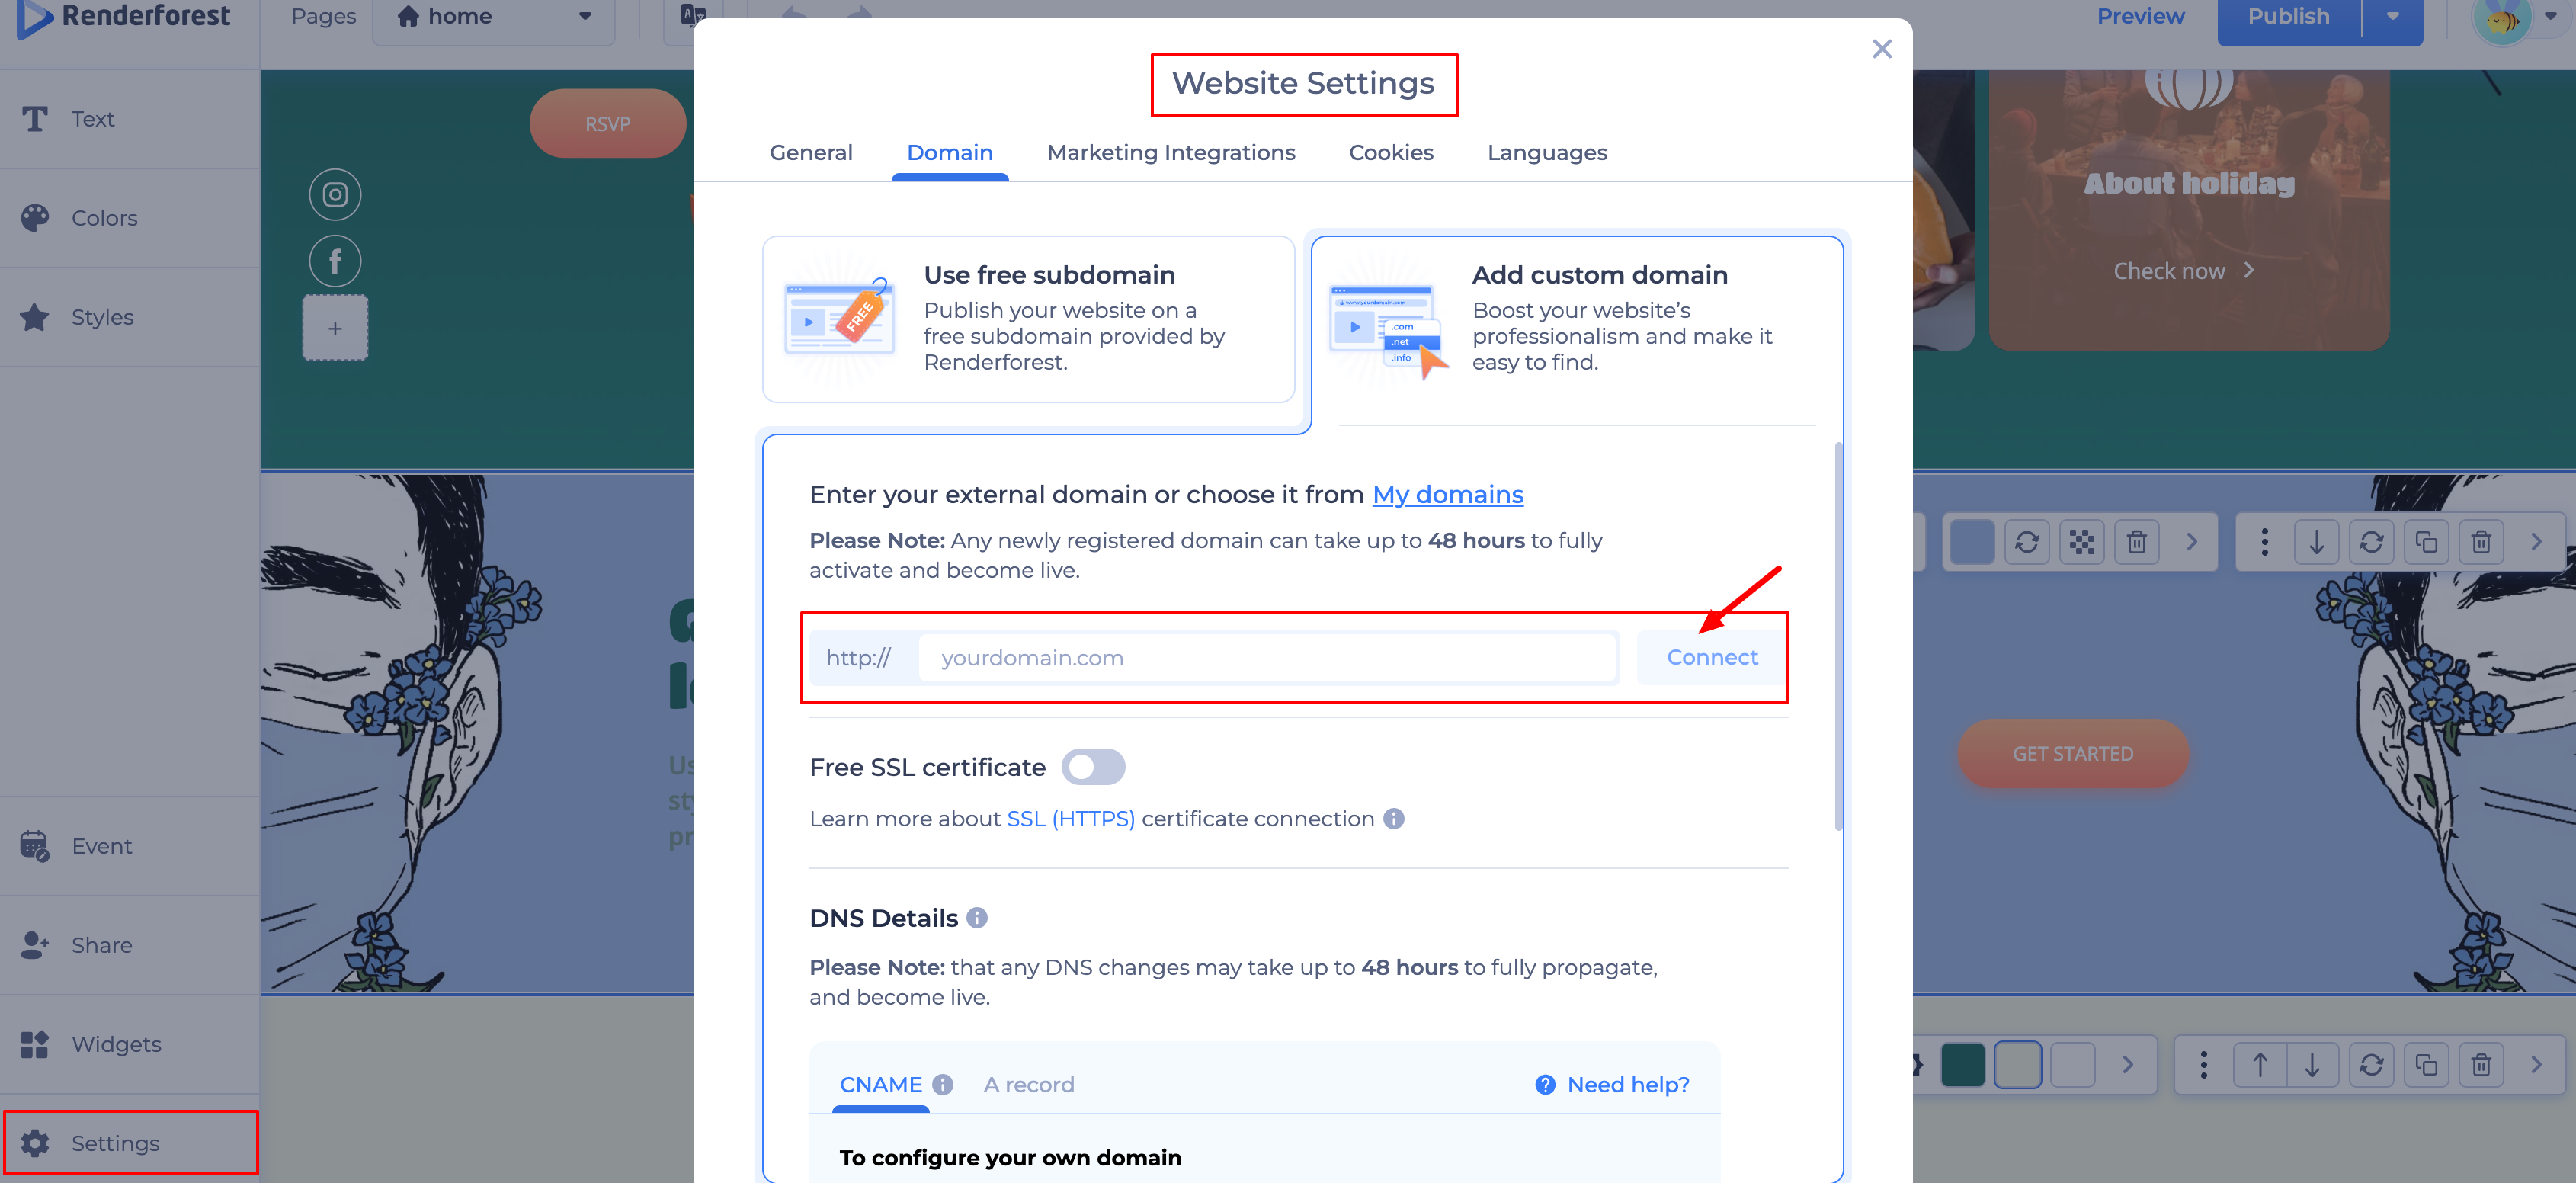
Update DNS Records: You will see the A Record and CNAME values provided by Renderforest.
Save in Provider Dashboard: Log in to your domain provider’s site and add these records to their DNS settings. Once you save them there, the connection process begins automatically.
Note: It can take up to 48 hours for the new settings to go live worldwide.
Option 2: Buy a Domain on Renderforest
The simplest way to get a professional address without technical setup:
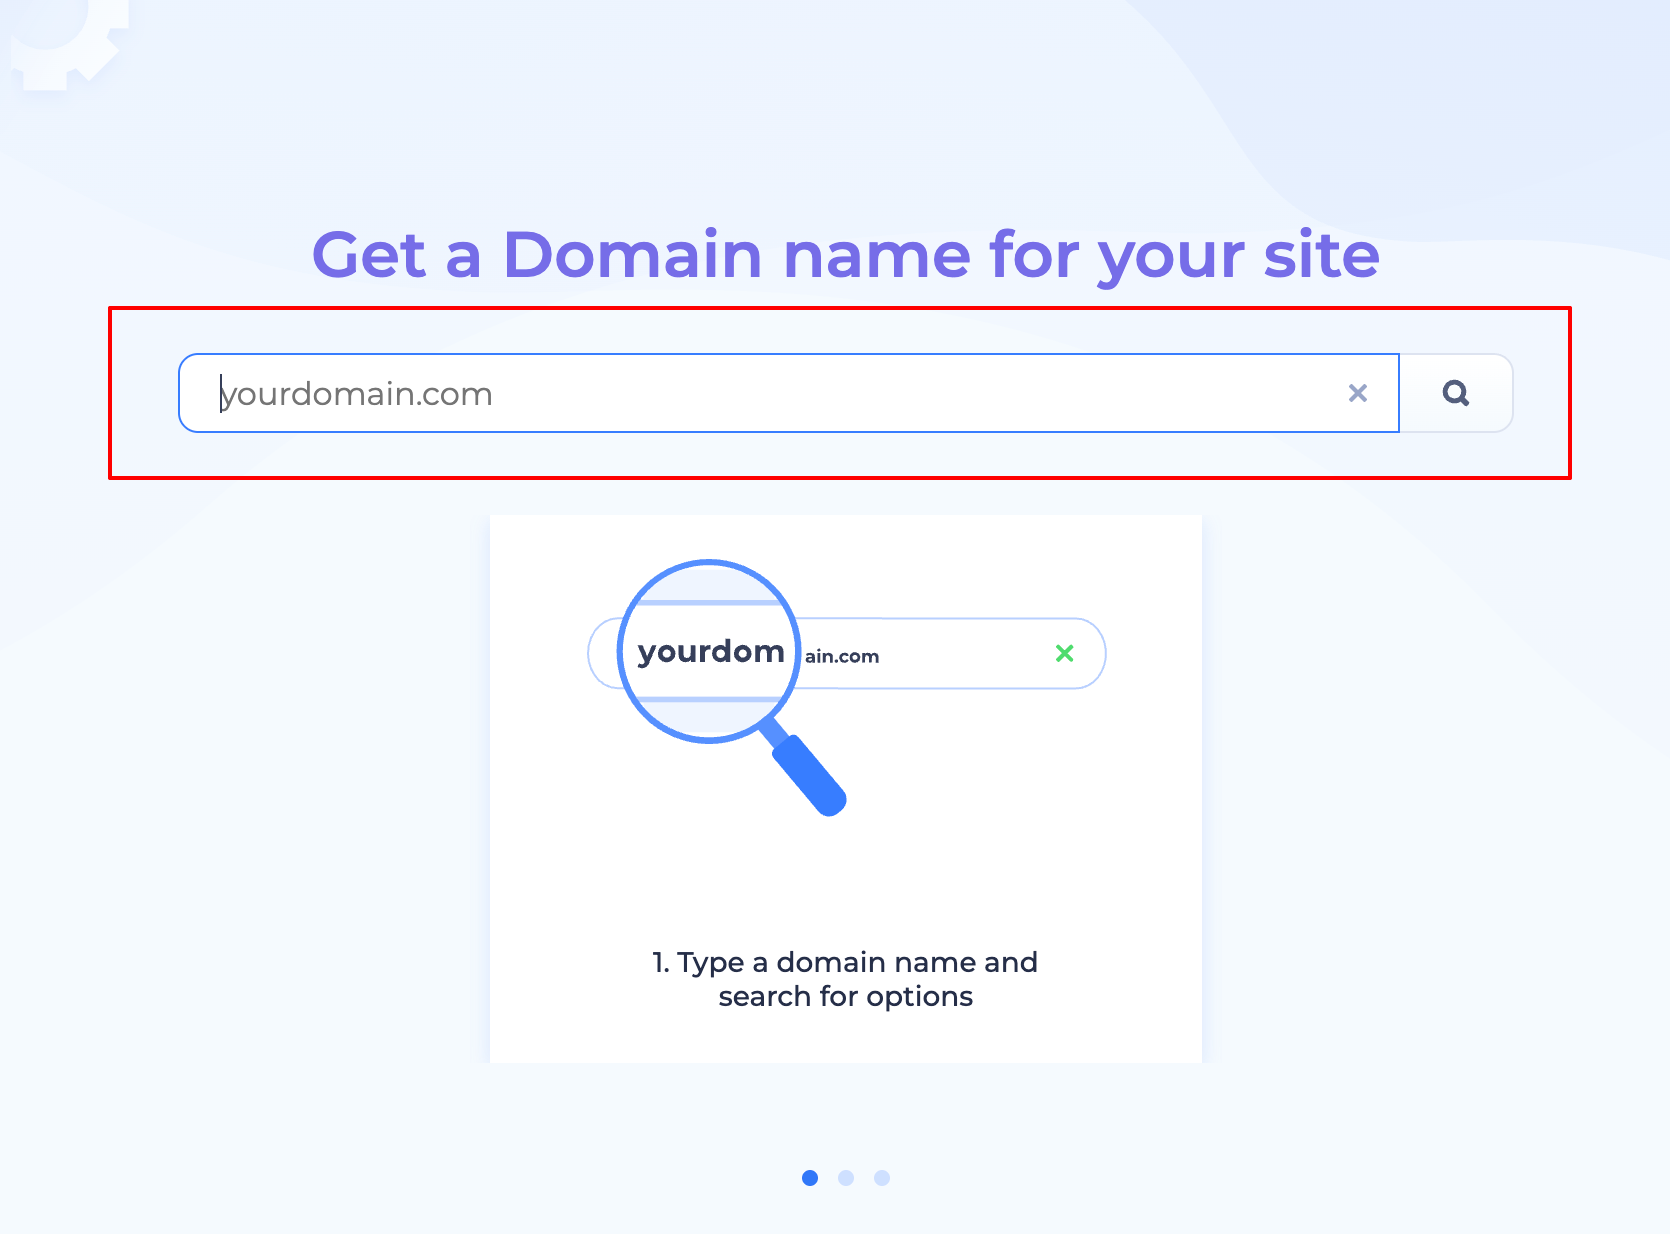
In the Domain settings, click on Buy Domain.
Search for your desired name to see if it’s available.
Once you purchase it, Renderforest automatically handles the connection and security setup for you—no manual DNS editing required.
Why use a custom domain?
Professionalism: It builds immediate trust with your audience.
Better SEO: Custom domains rank much higher on Google than free subdomains.
Free SSL: All custom domains connected to Renderforest include a free security certificate (HTTPS) automatically.
Note: Connecting or buying a custom domain is a Premium feature. You will need an active subscription to publish your site under a custom URL.
Was this article helpful?
That’s Great!
Thank you for your feedback
Sorry! We couldn't be helpful
Thank you for your feedback
Feedback sent
We appreciate your effort and will try to fix the article